💳Fund your wallet
In this tutorial we will show how to buy crypto to fund your wallet
There are several methods to fund your account. We will showcase the recomended one and explain alternatives:
Youtube guide
Buy NEAR from your NEAR Mobile app with Transak
The first time you use Transak you must create an account. This is a very easy process that takes around 60 seconds to complete. Click here to see how.
Payment methods will vary depending on your location and currency used.
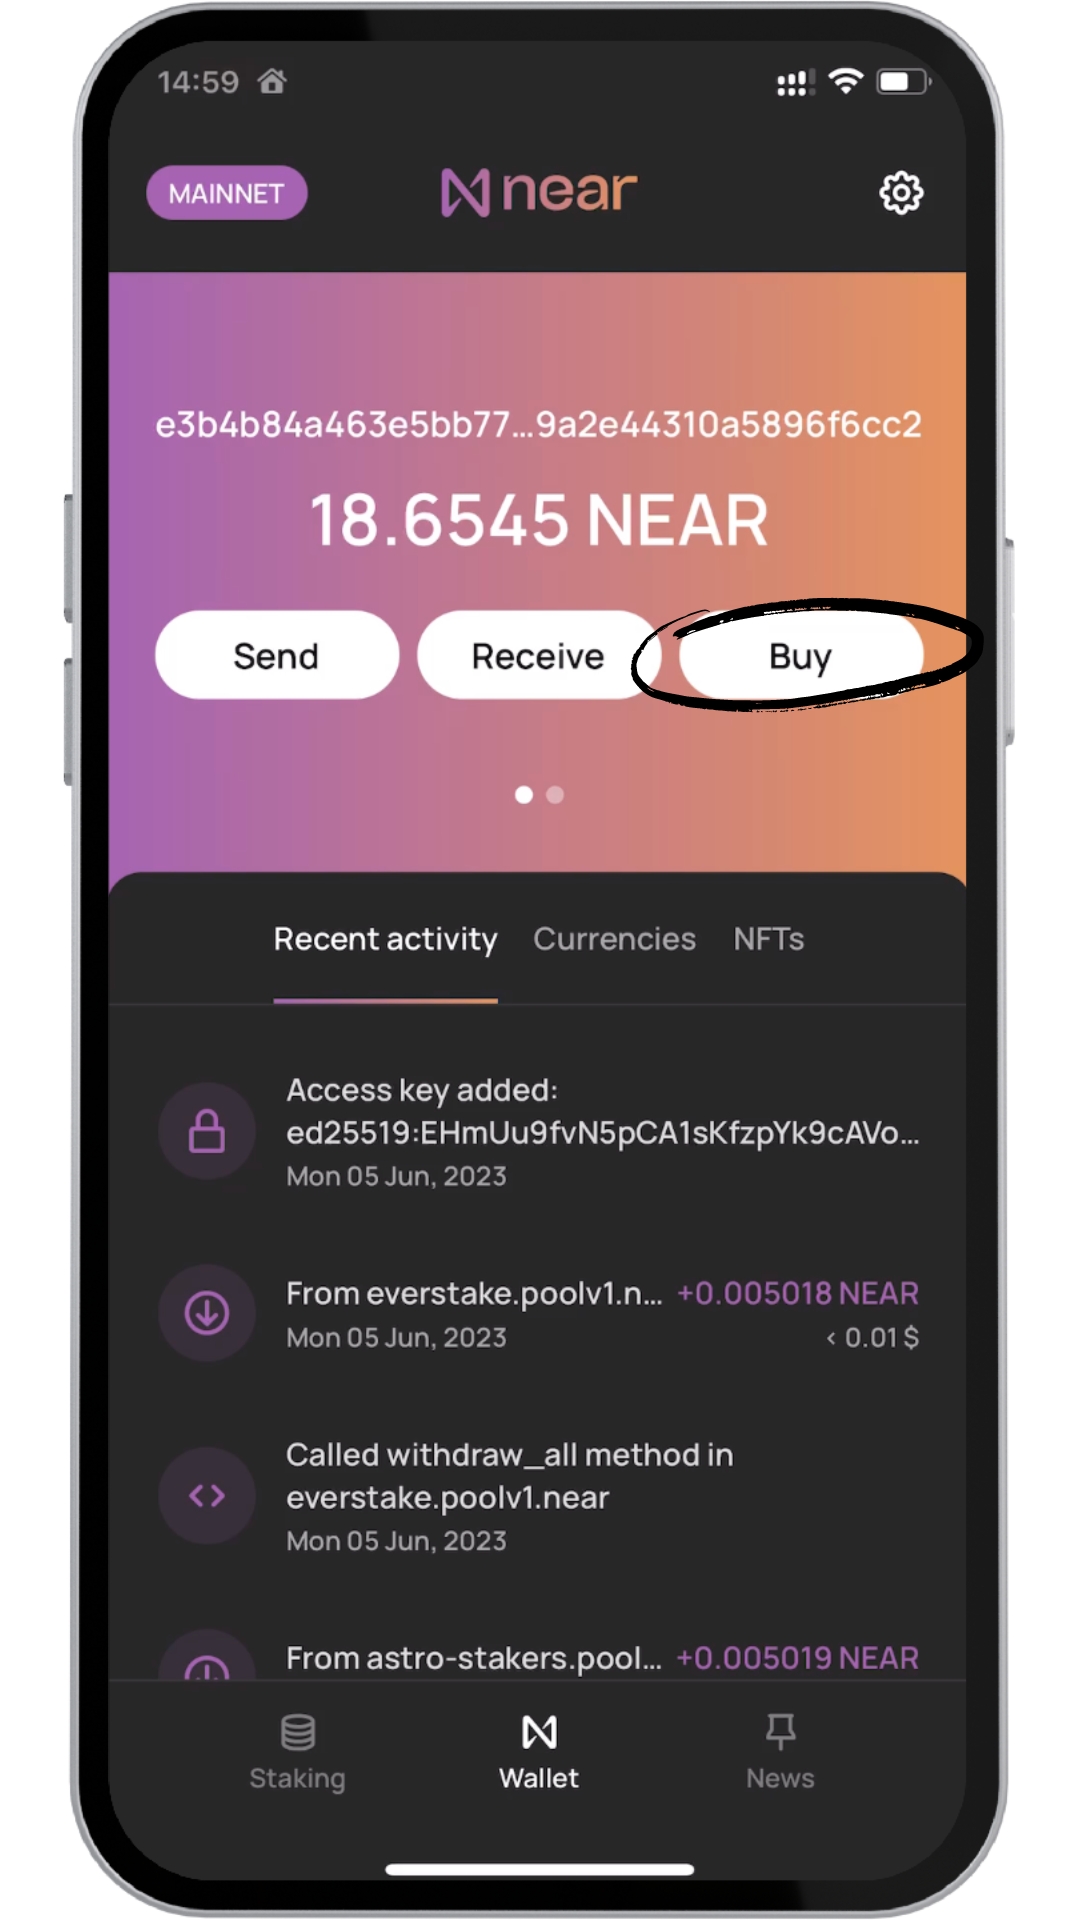
Go to your Wallet and tap on Buy. Transak buying page will pop up.
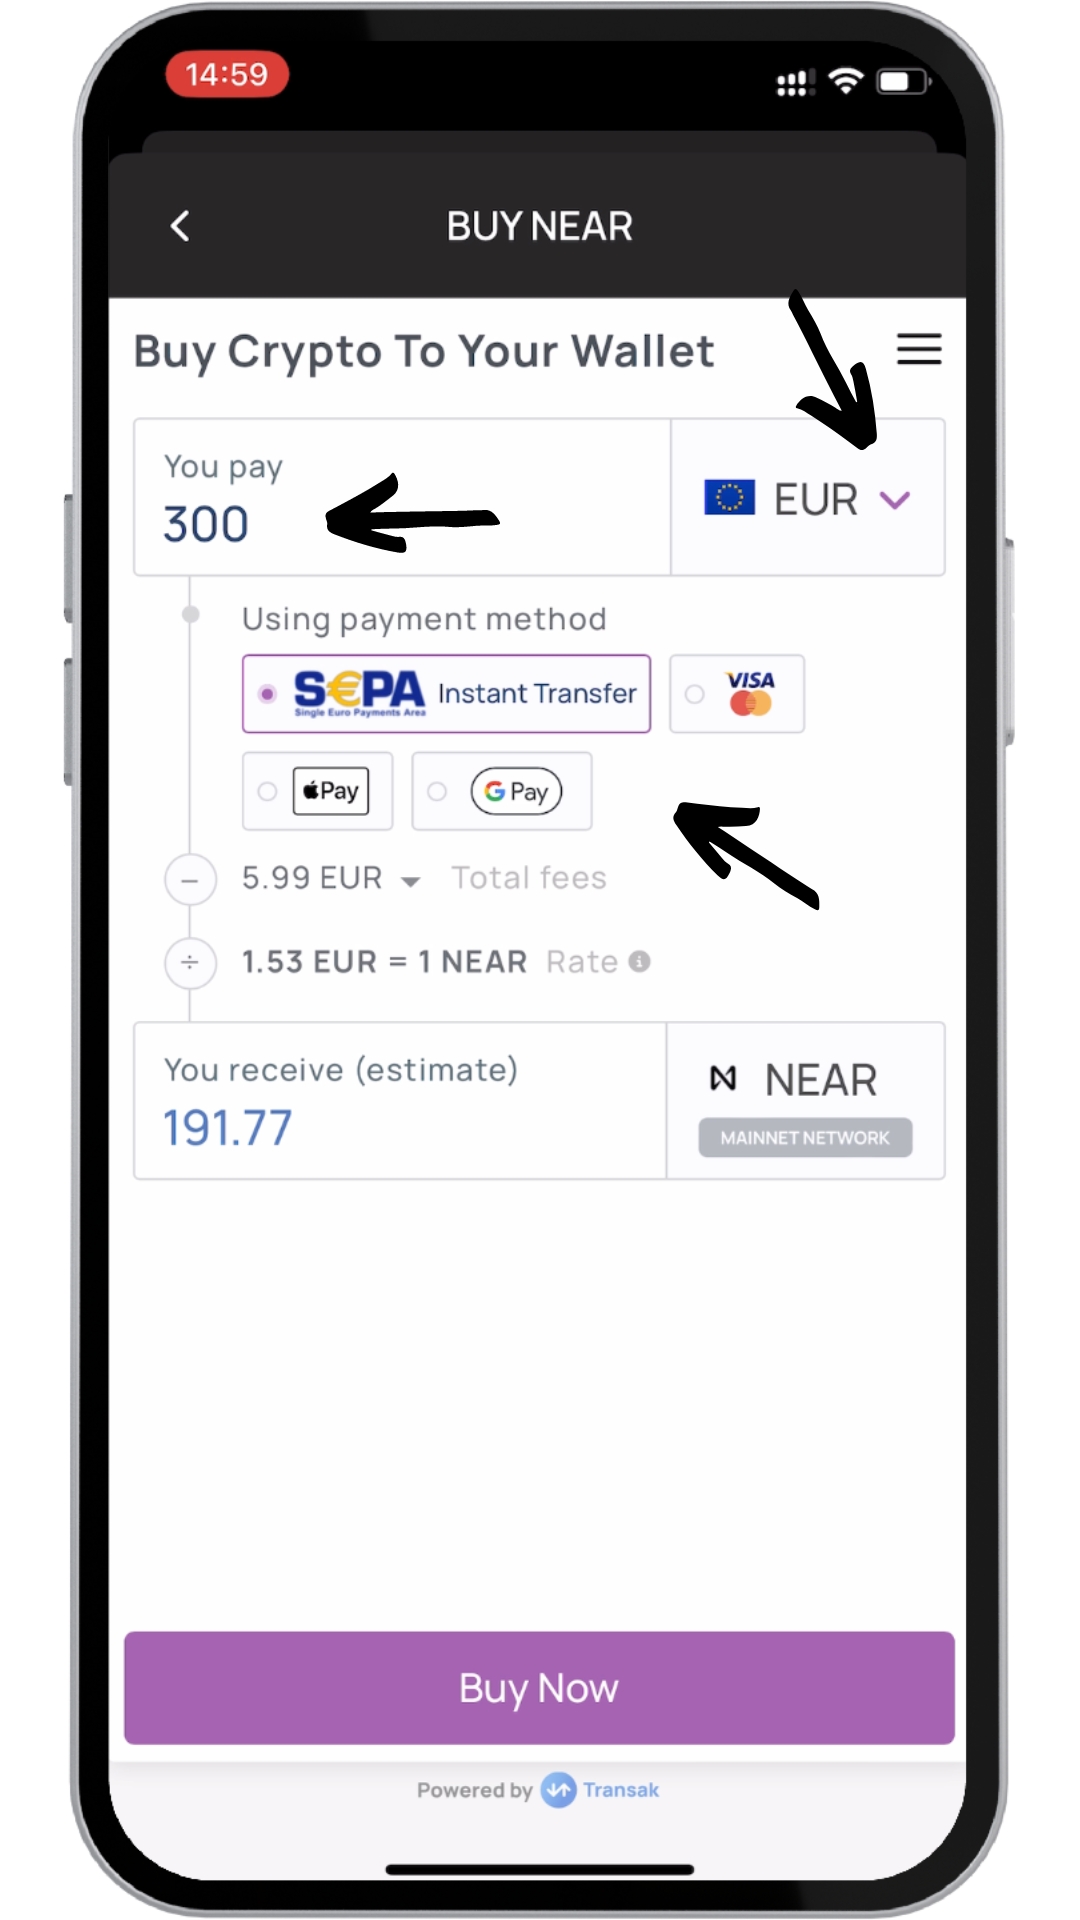
Once there, enter the amount you want to buy, the payment method (we will use apple pay as an example) and fiat used for the transaction. Once done tap on Buy Now.
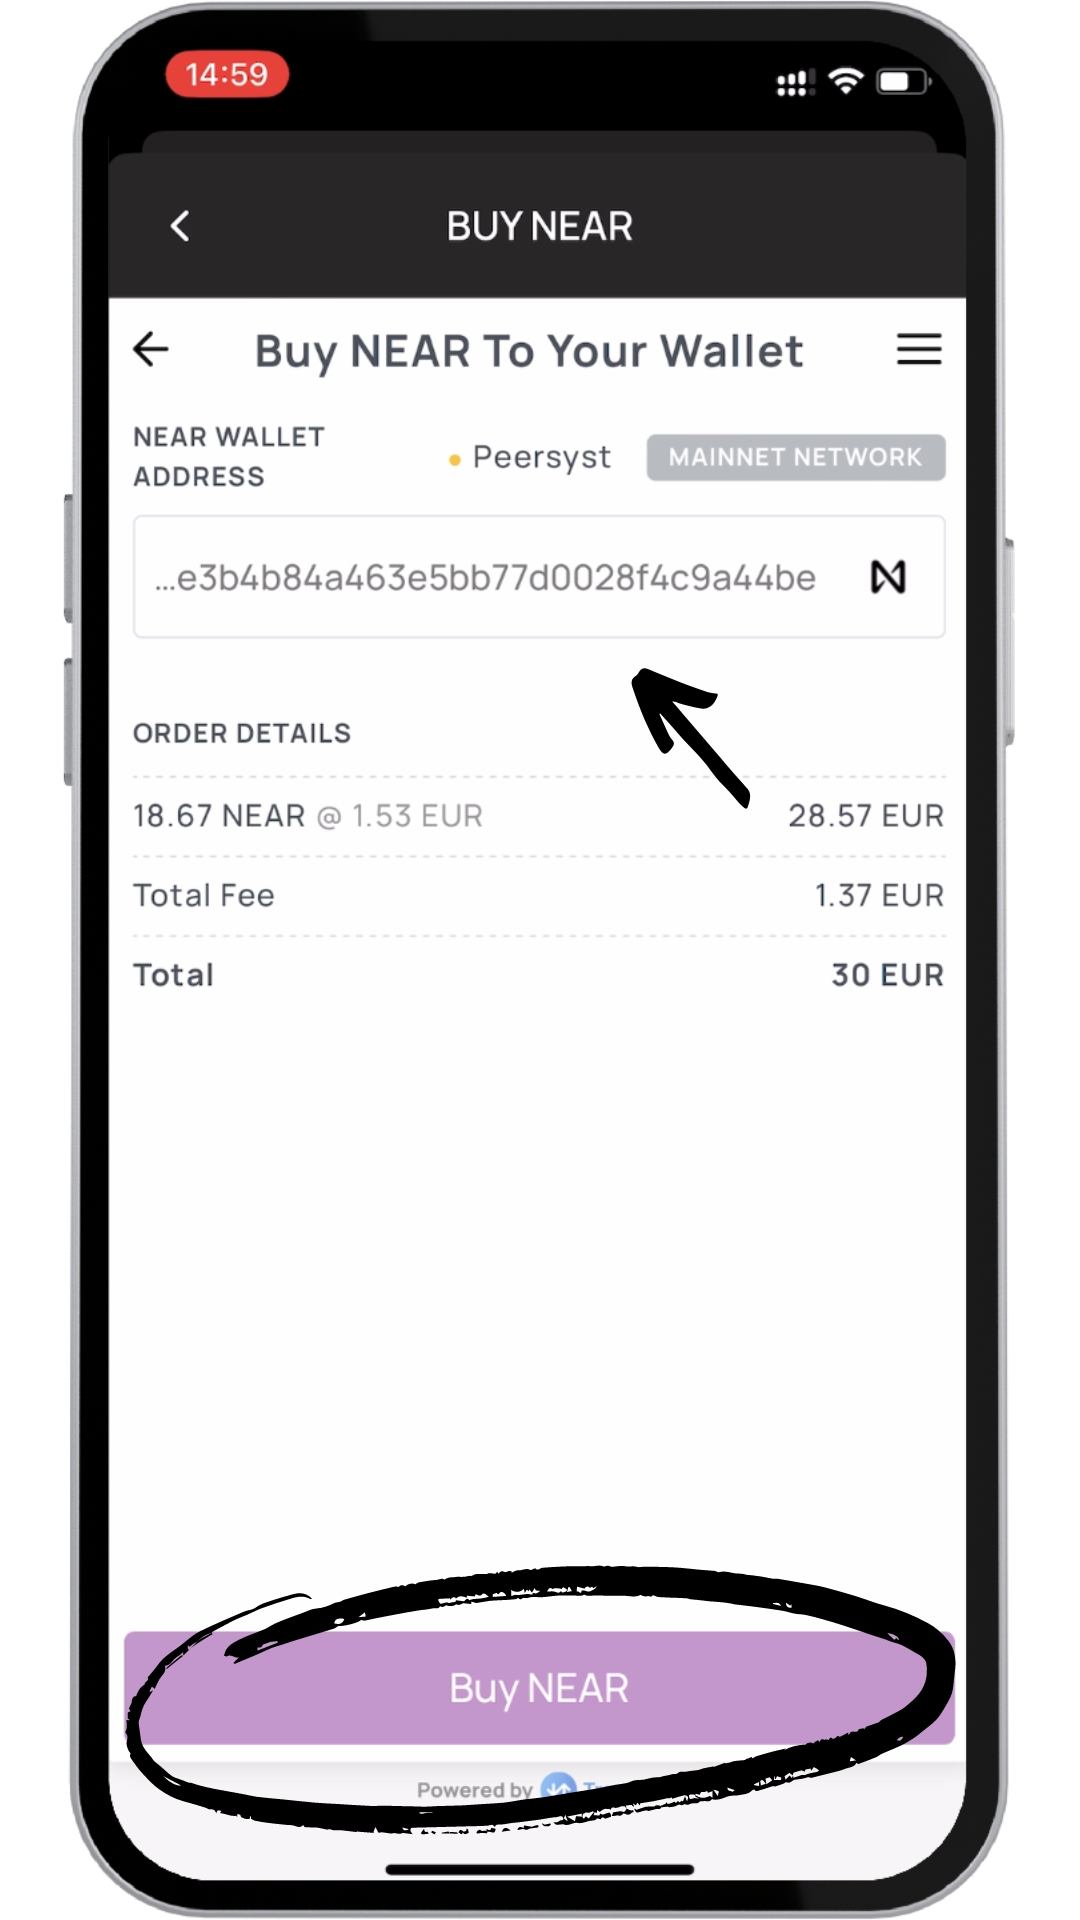
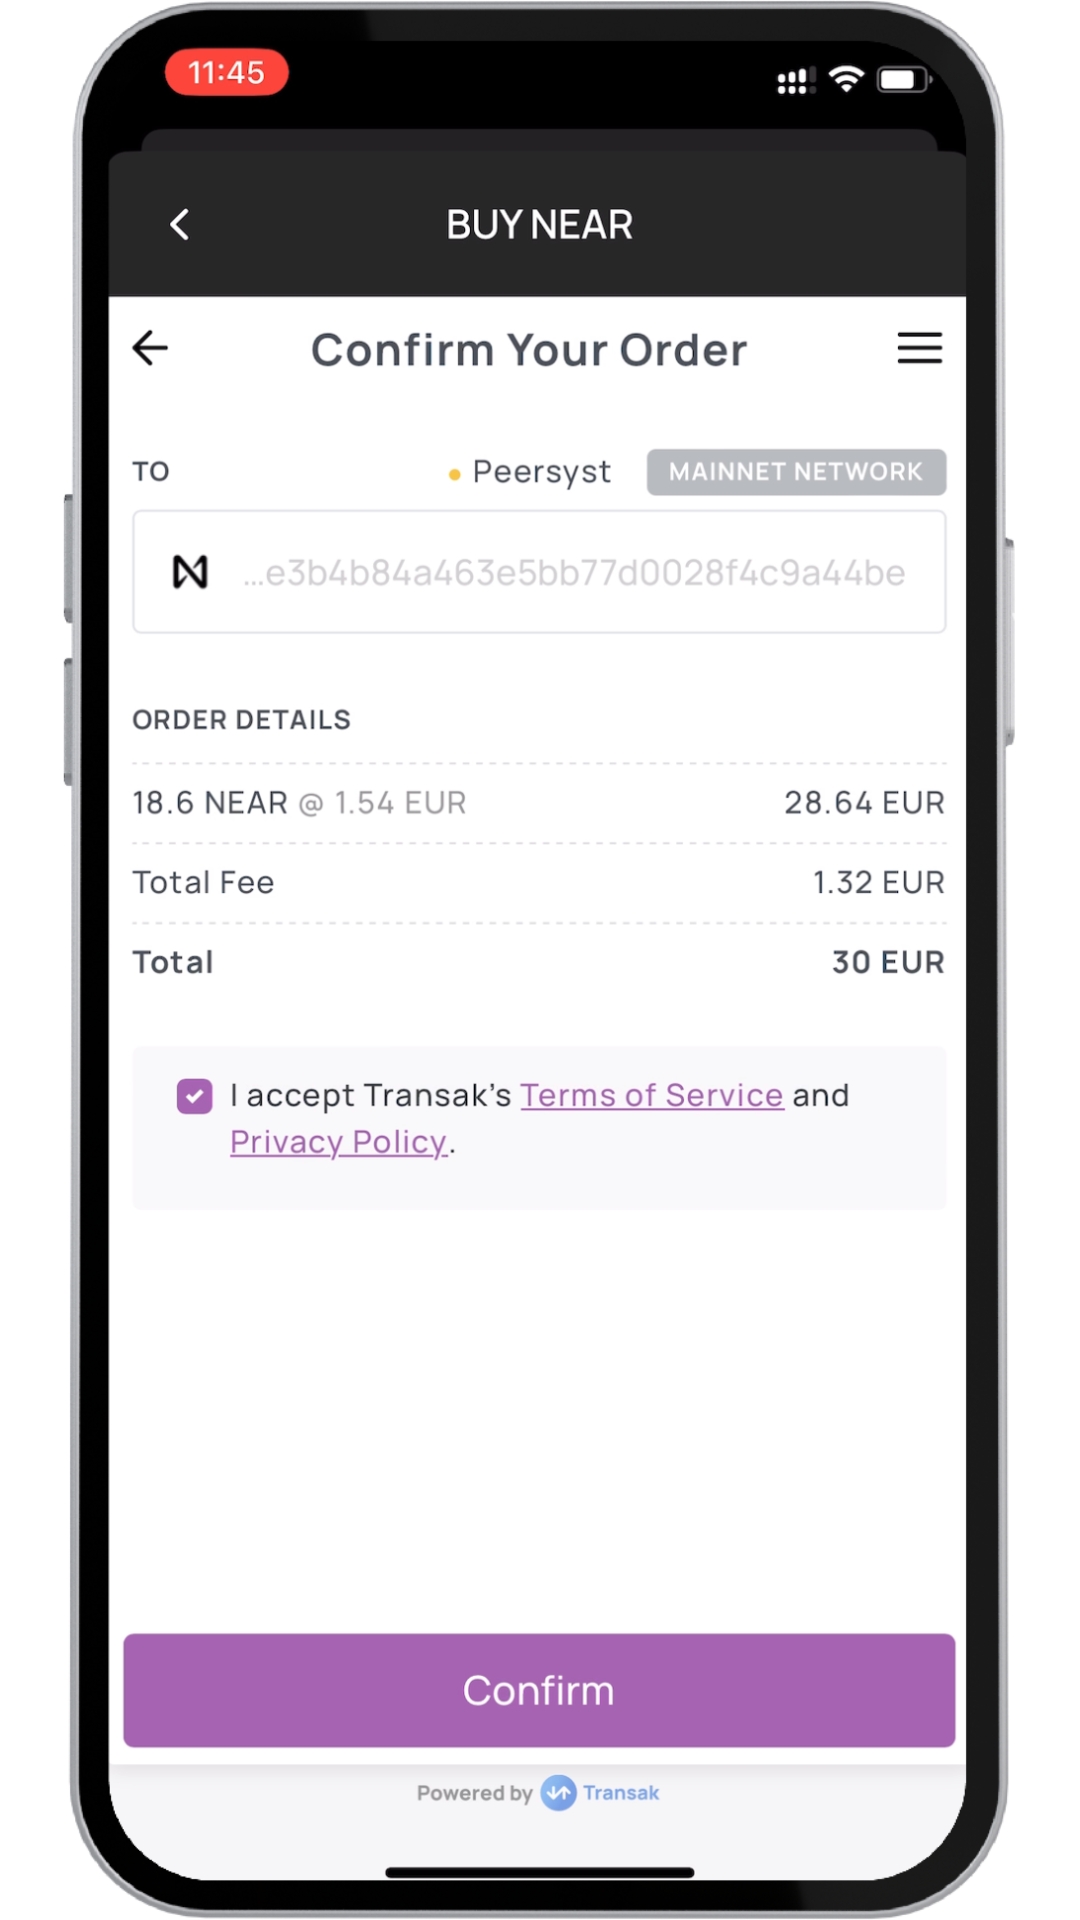
Review the transaction details such as your wallet address, fee and amount. If all looks good tap on Buy NEAR.
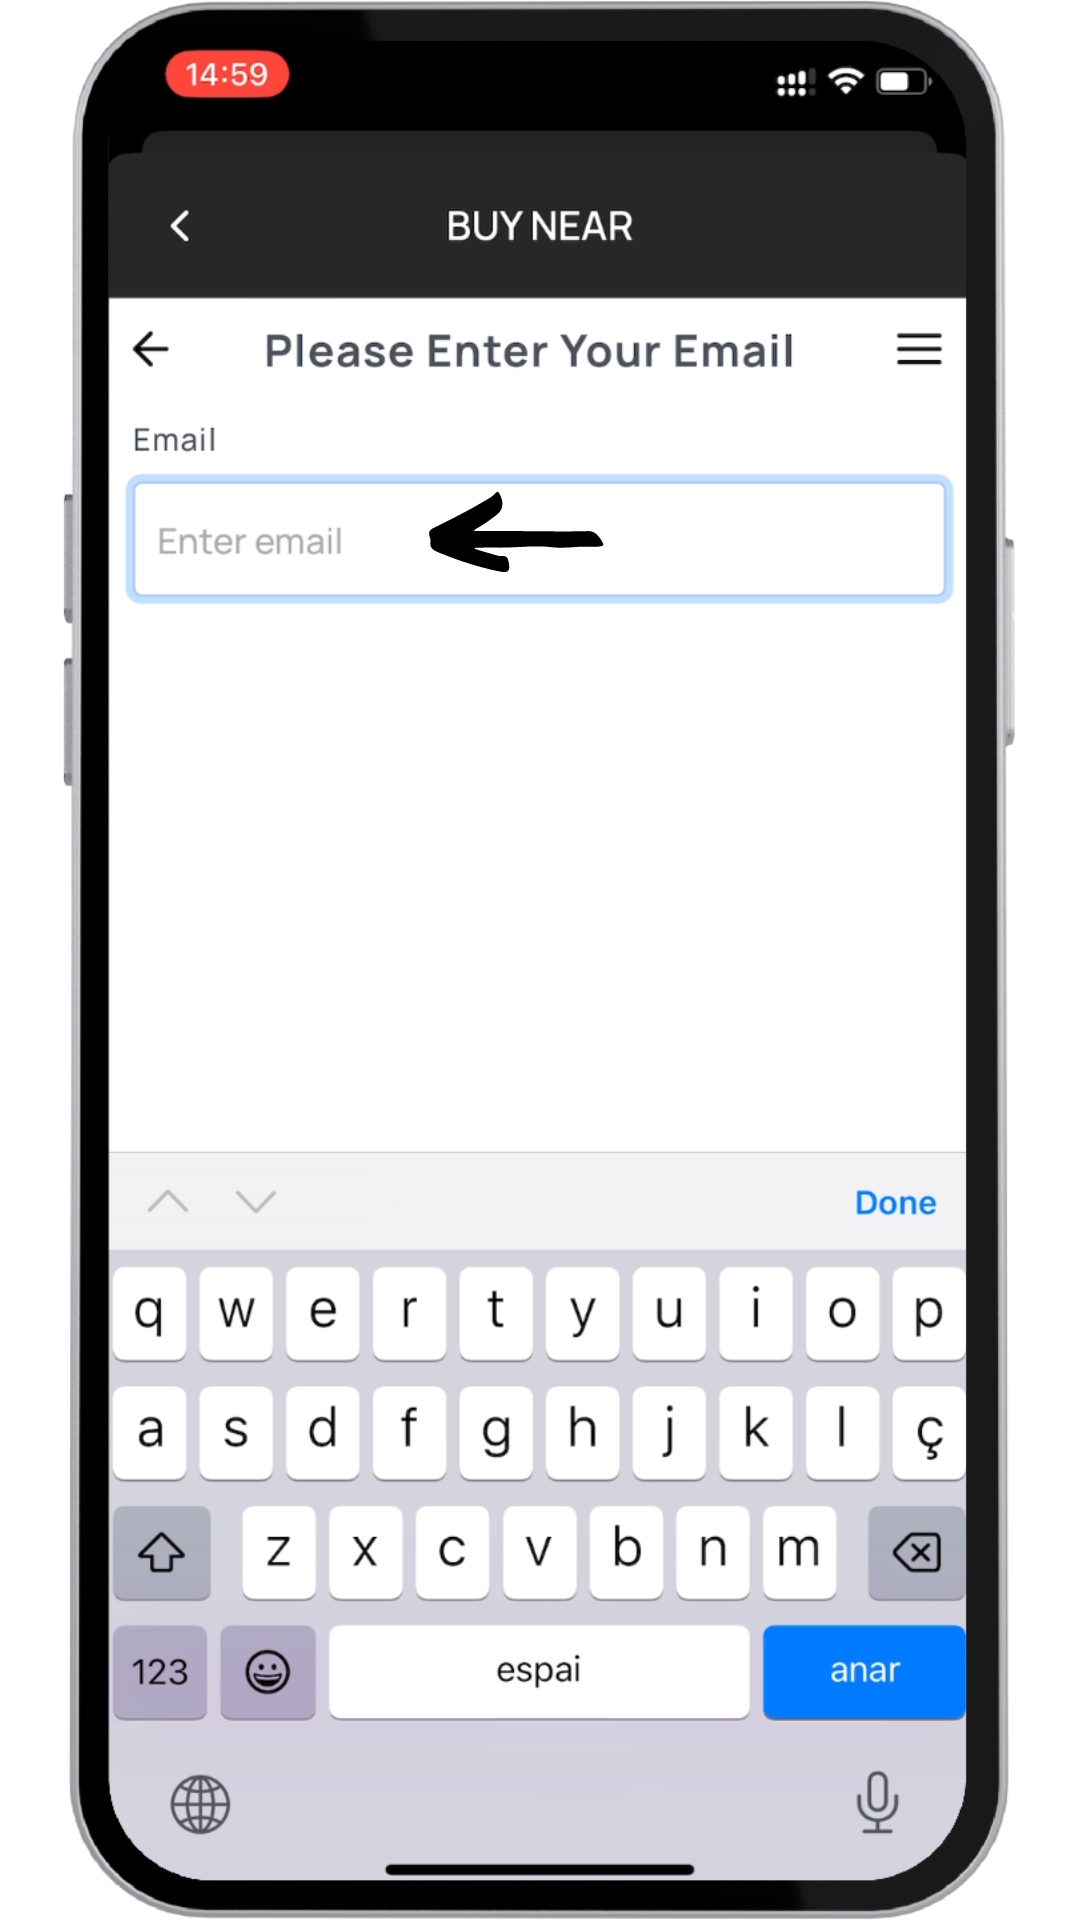
Transak will ask you to log in. To do so, simply enter the email you used to create your Transak account and wait to receive the validation code to log in. If you do not have a Transak account you need to create one, click here to create one.
Paste the validation code, accept Transak terms and tap on Continue
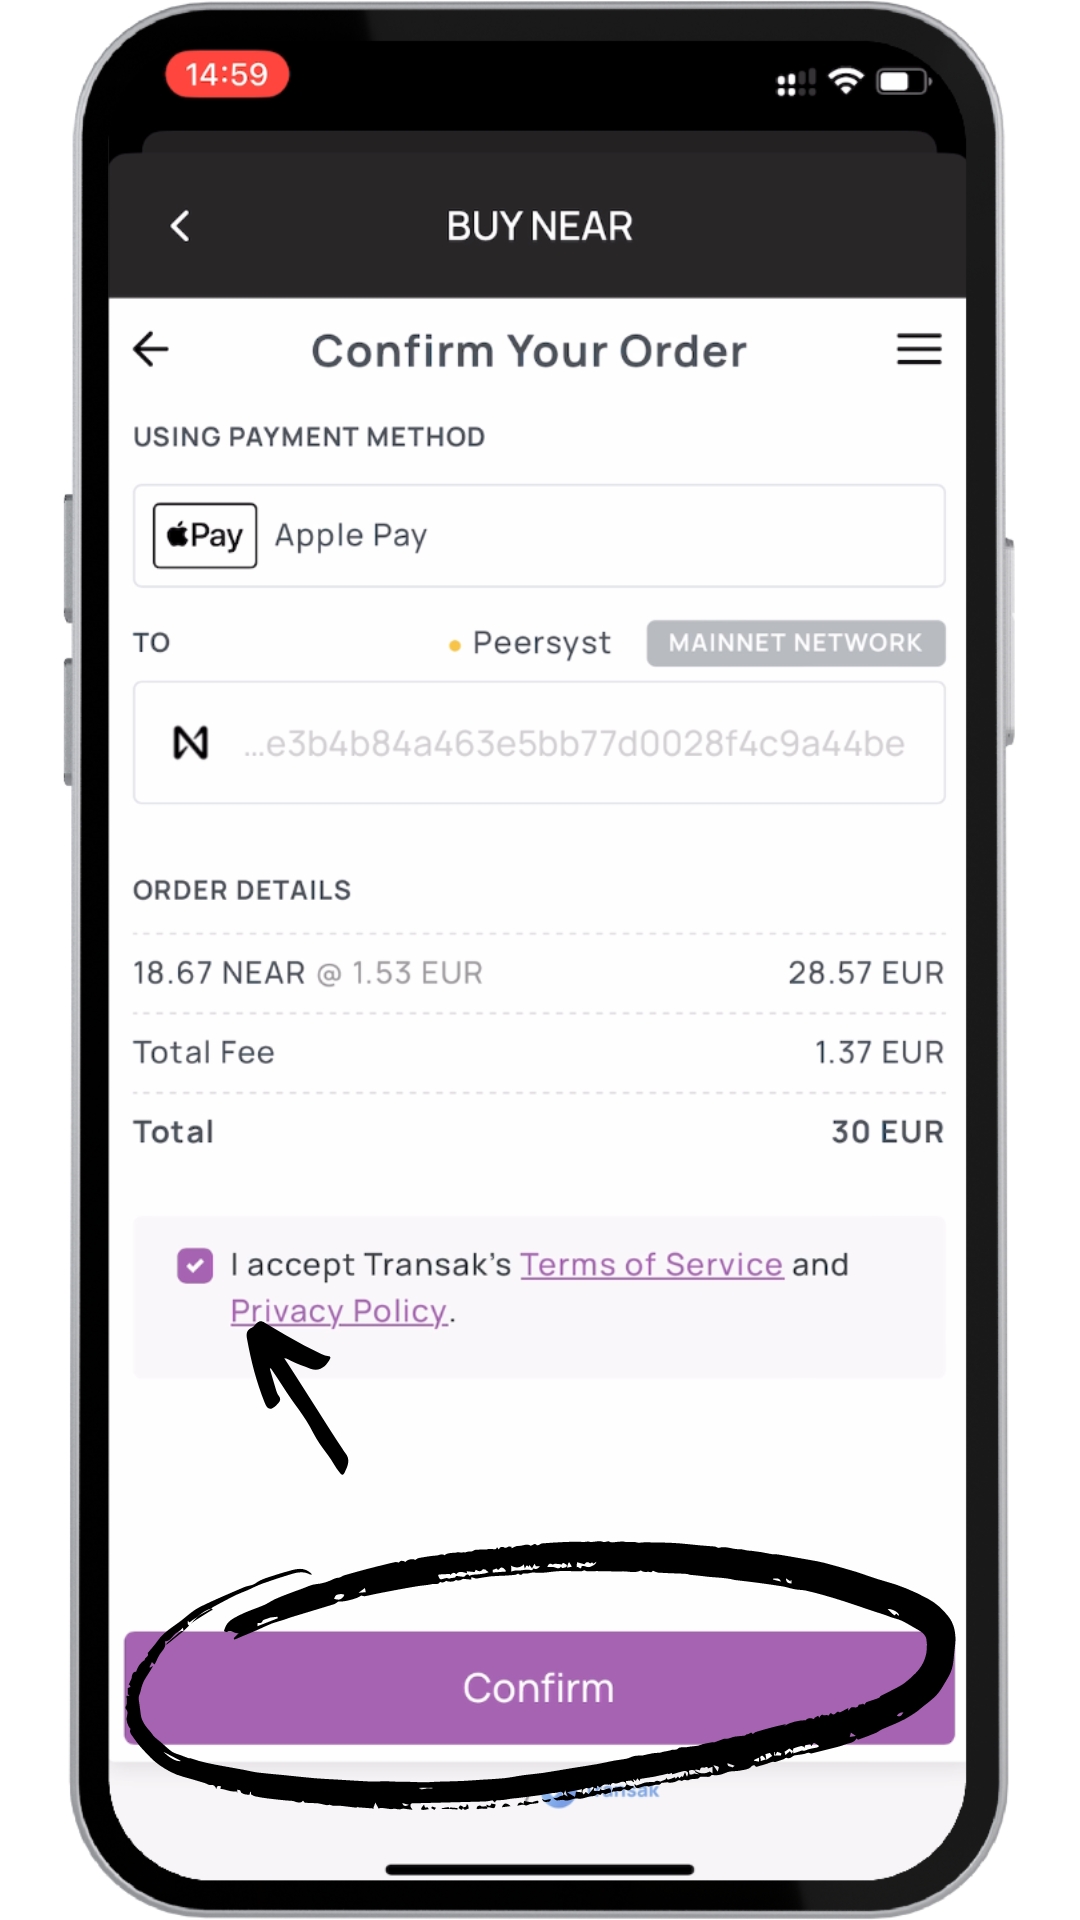
You will be taken to the confirmation page where you will have to accept the terms again and tap on Confirm
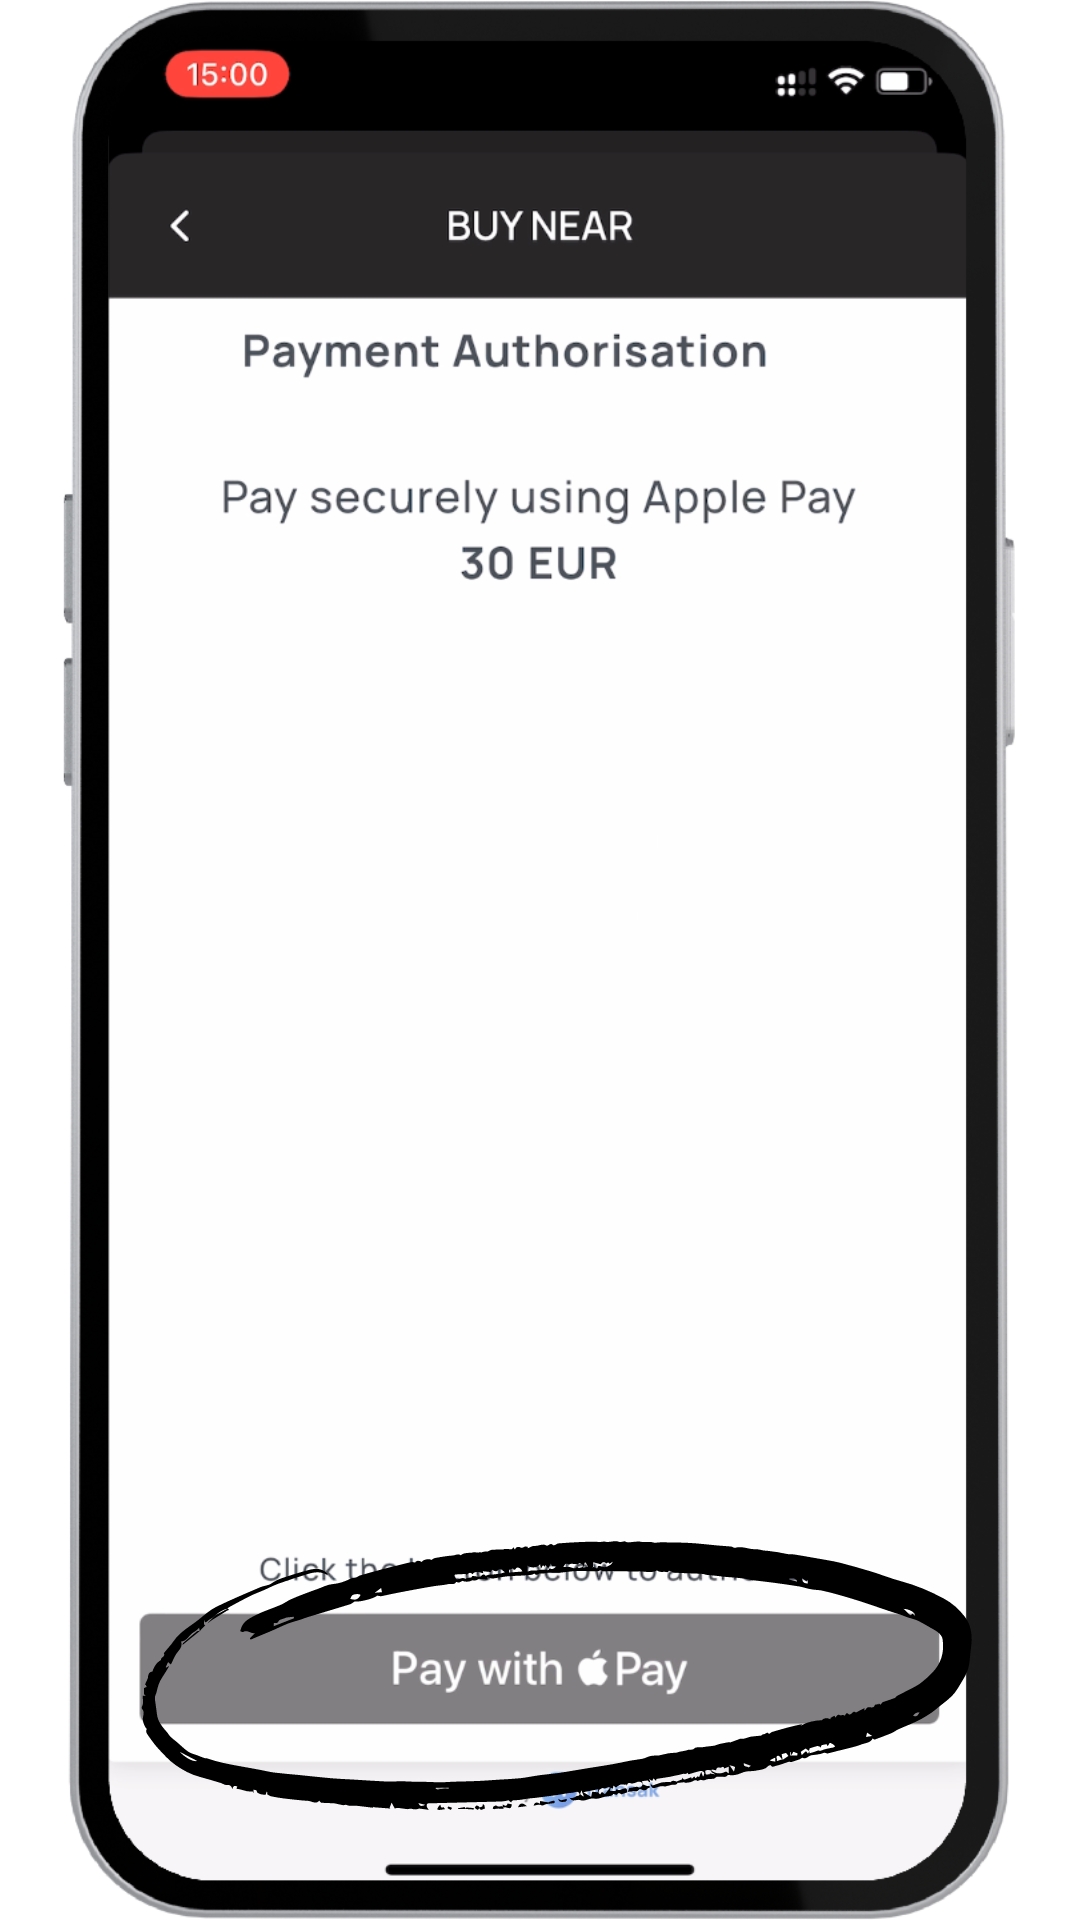
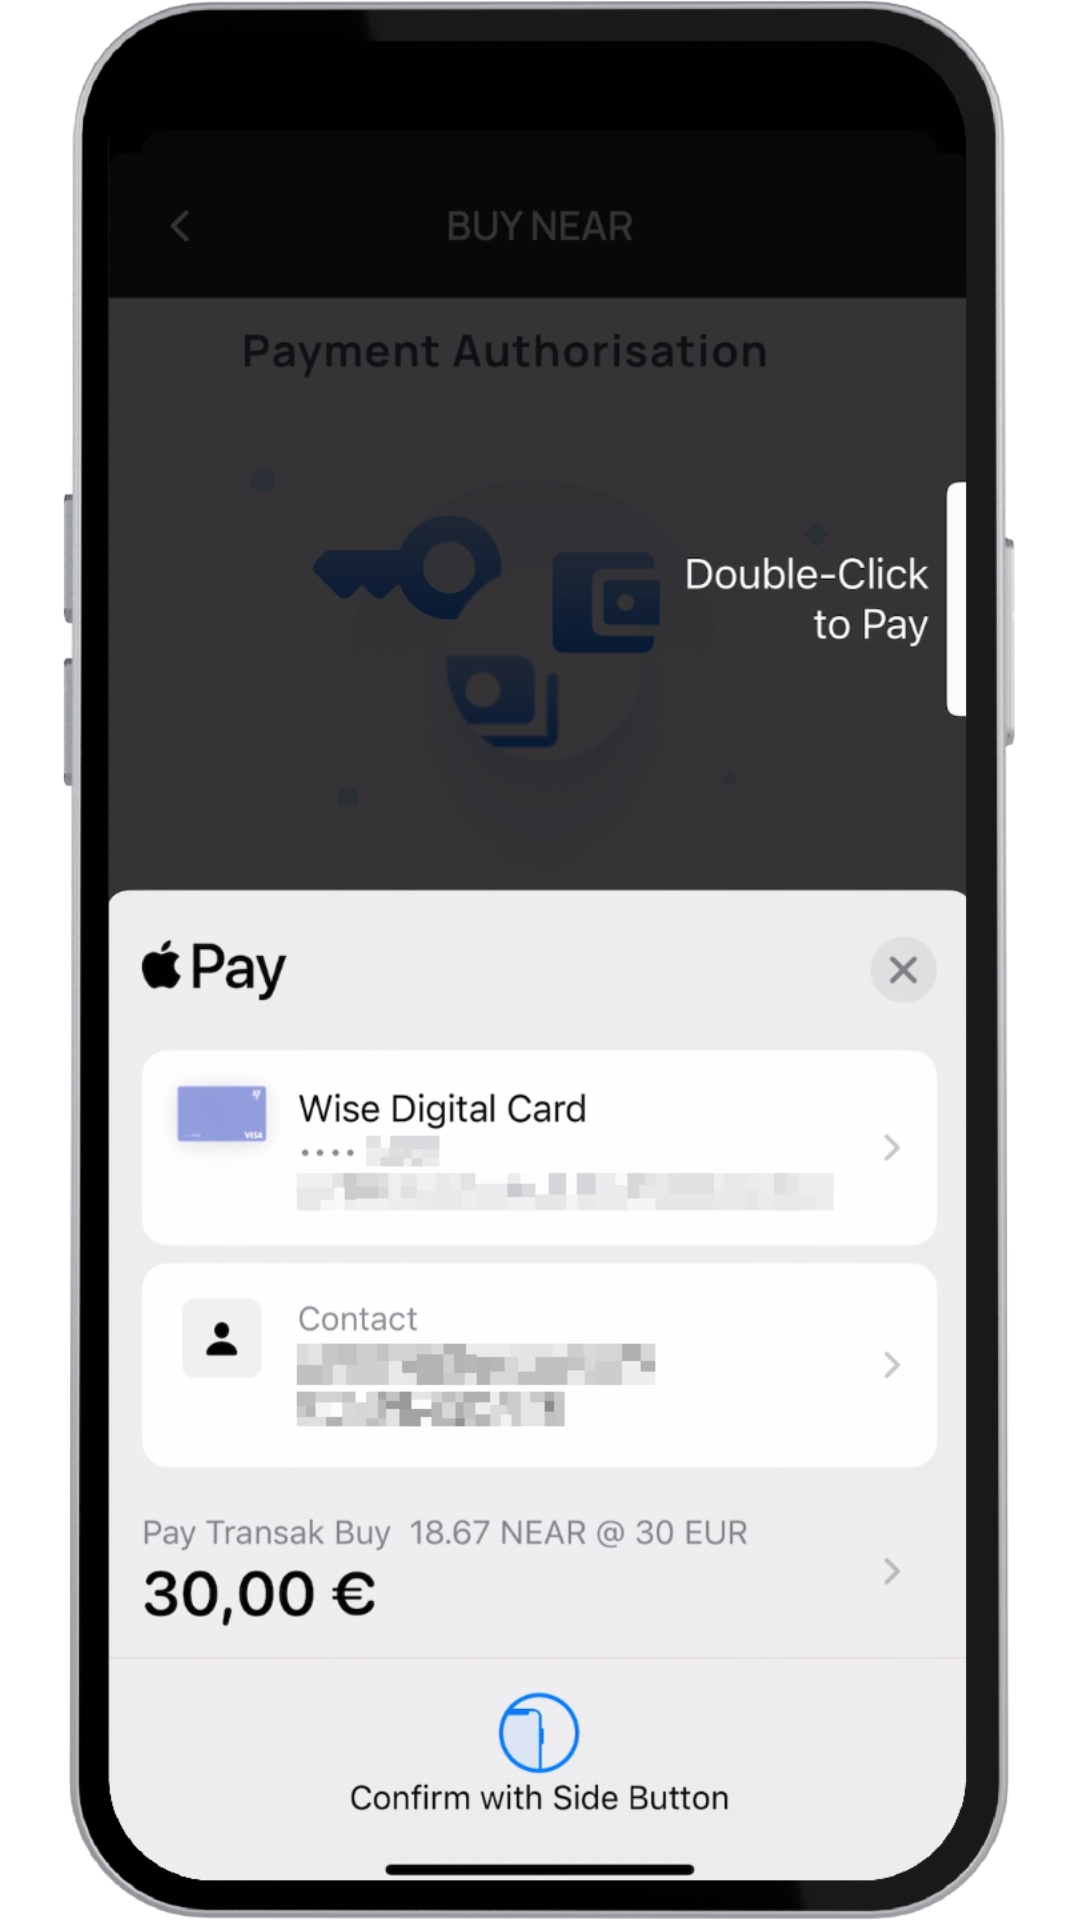
Lastly, finish the transaction using the payment method previously chosen, again our choice was Apple pay.
Your NEAR will be deposited shortly after your payment has been processed.
Transak Account creation:
Please note that all personal and payment details are neither accessed nor stored by NEAR Mobile, they are for Transak.
The first time you use Transak it will ask you to create an account and verify it. To do so the steps below:
To create an account, start the buying process and when requested to log in, enter the email you want to use to create the account and wait to receive a validation code.
Paste the validation code, accept Transak terms and tap on Continue
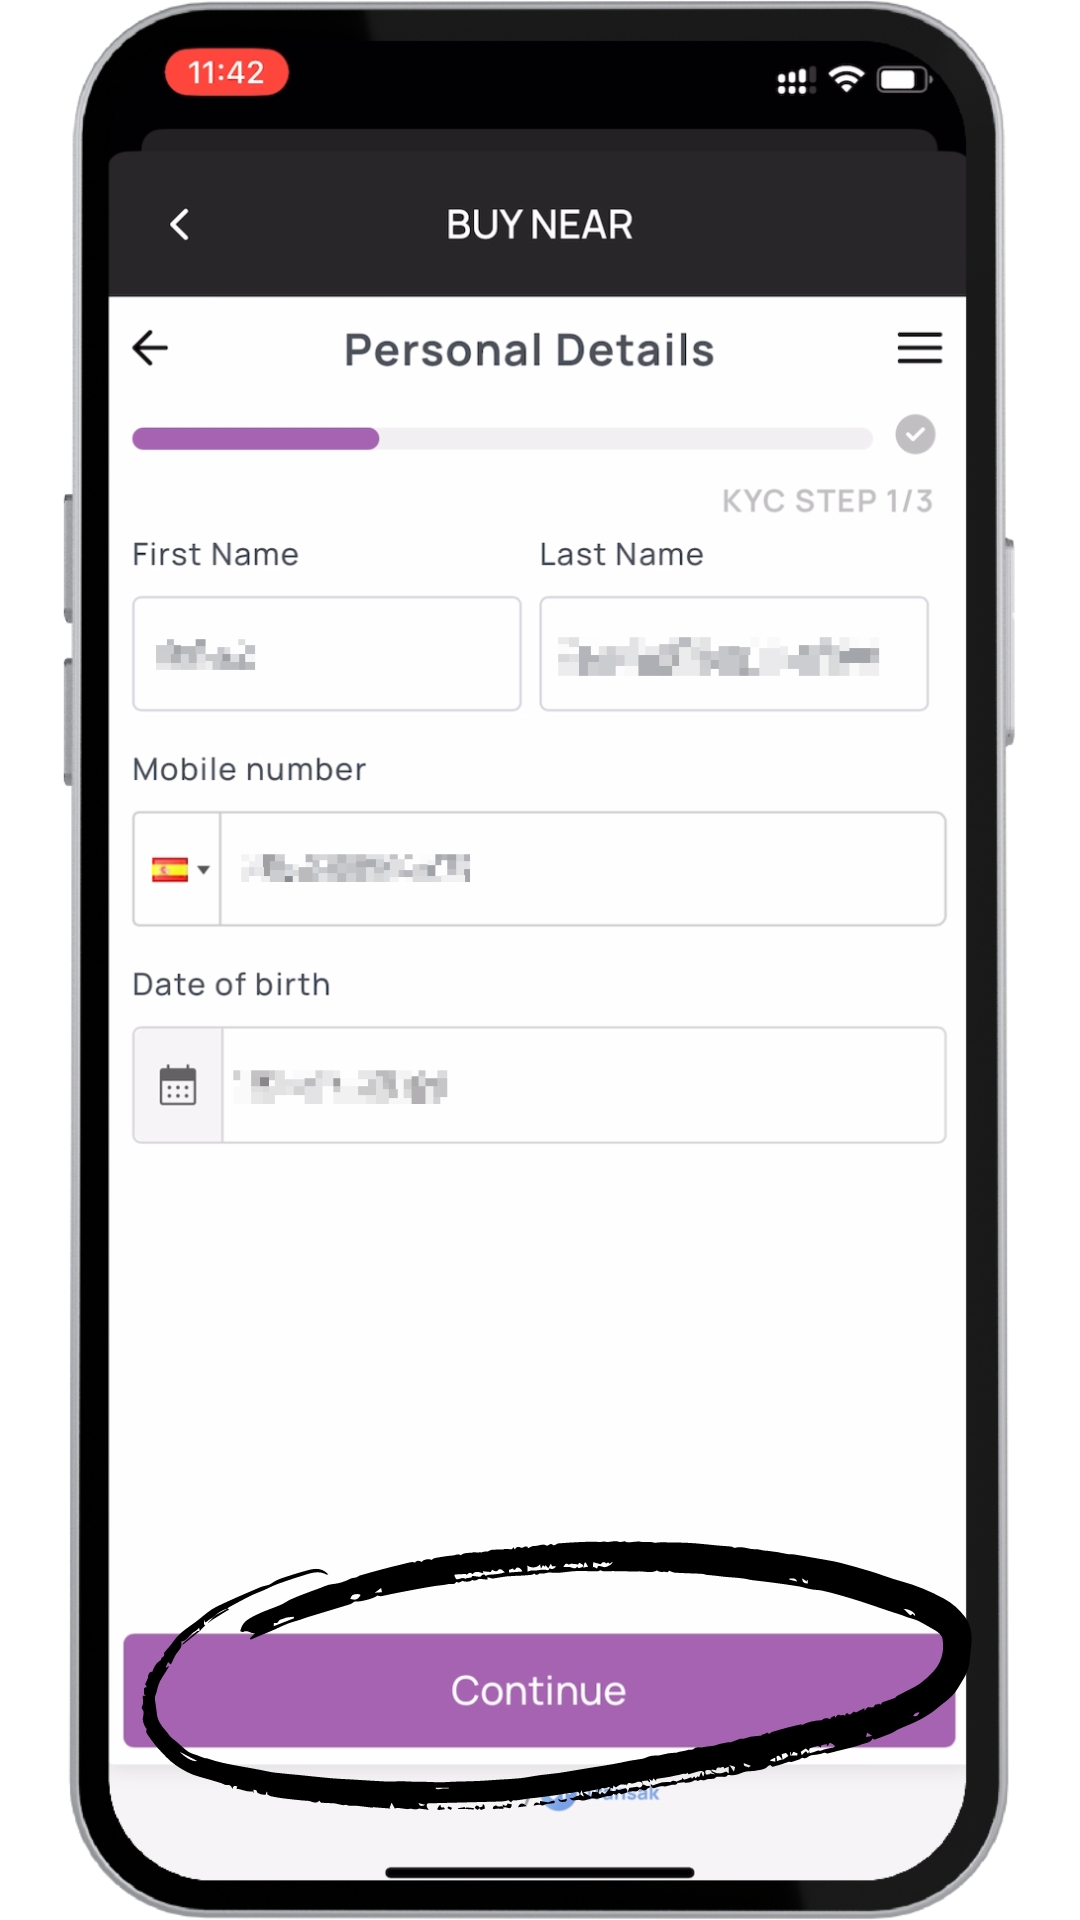
Transak will ask for your name, phone number and birthday. Fill in your personal details and tap on Continue
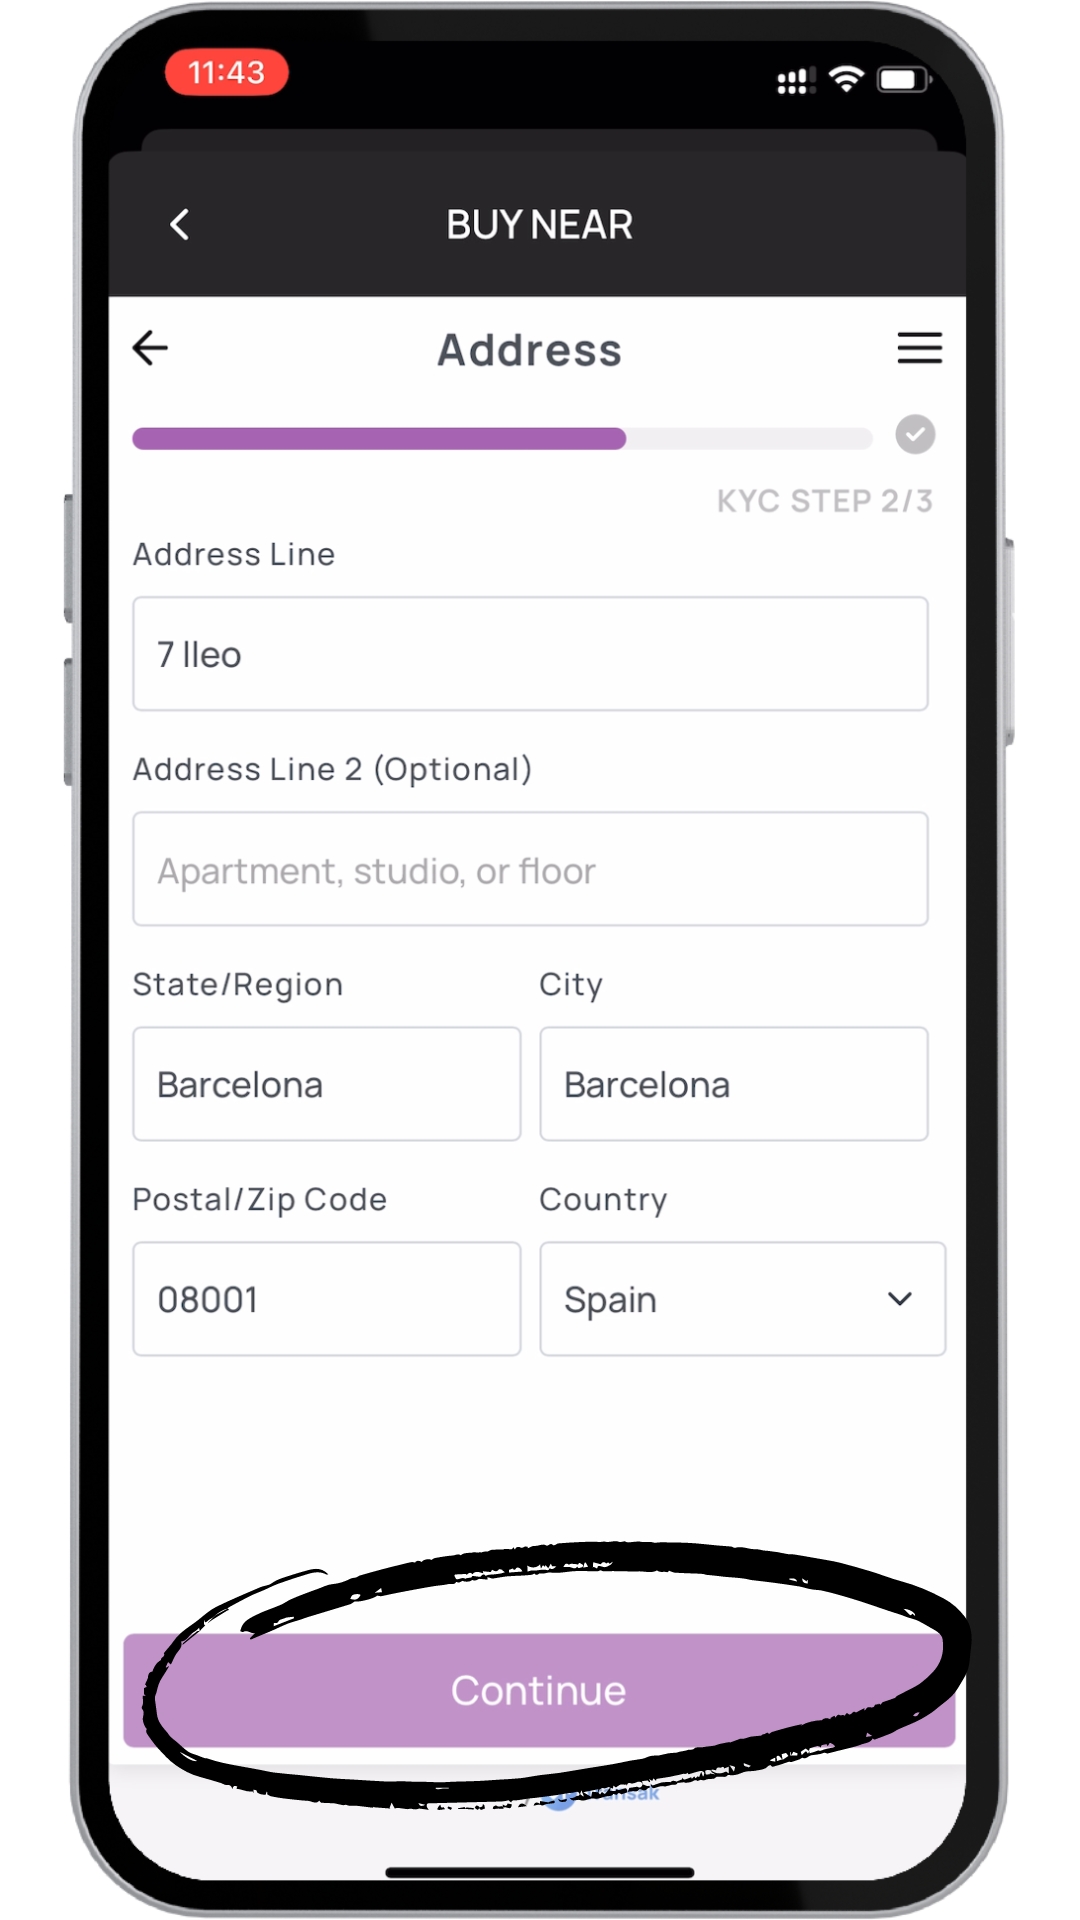
Next you will have to input your address details. After doing that, tap on Continue
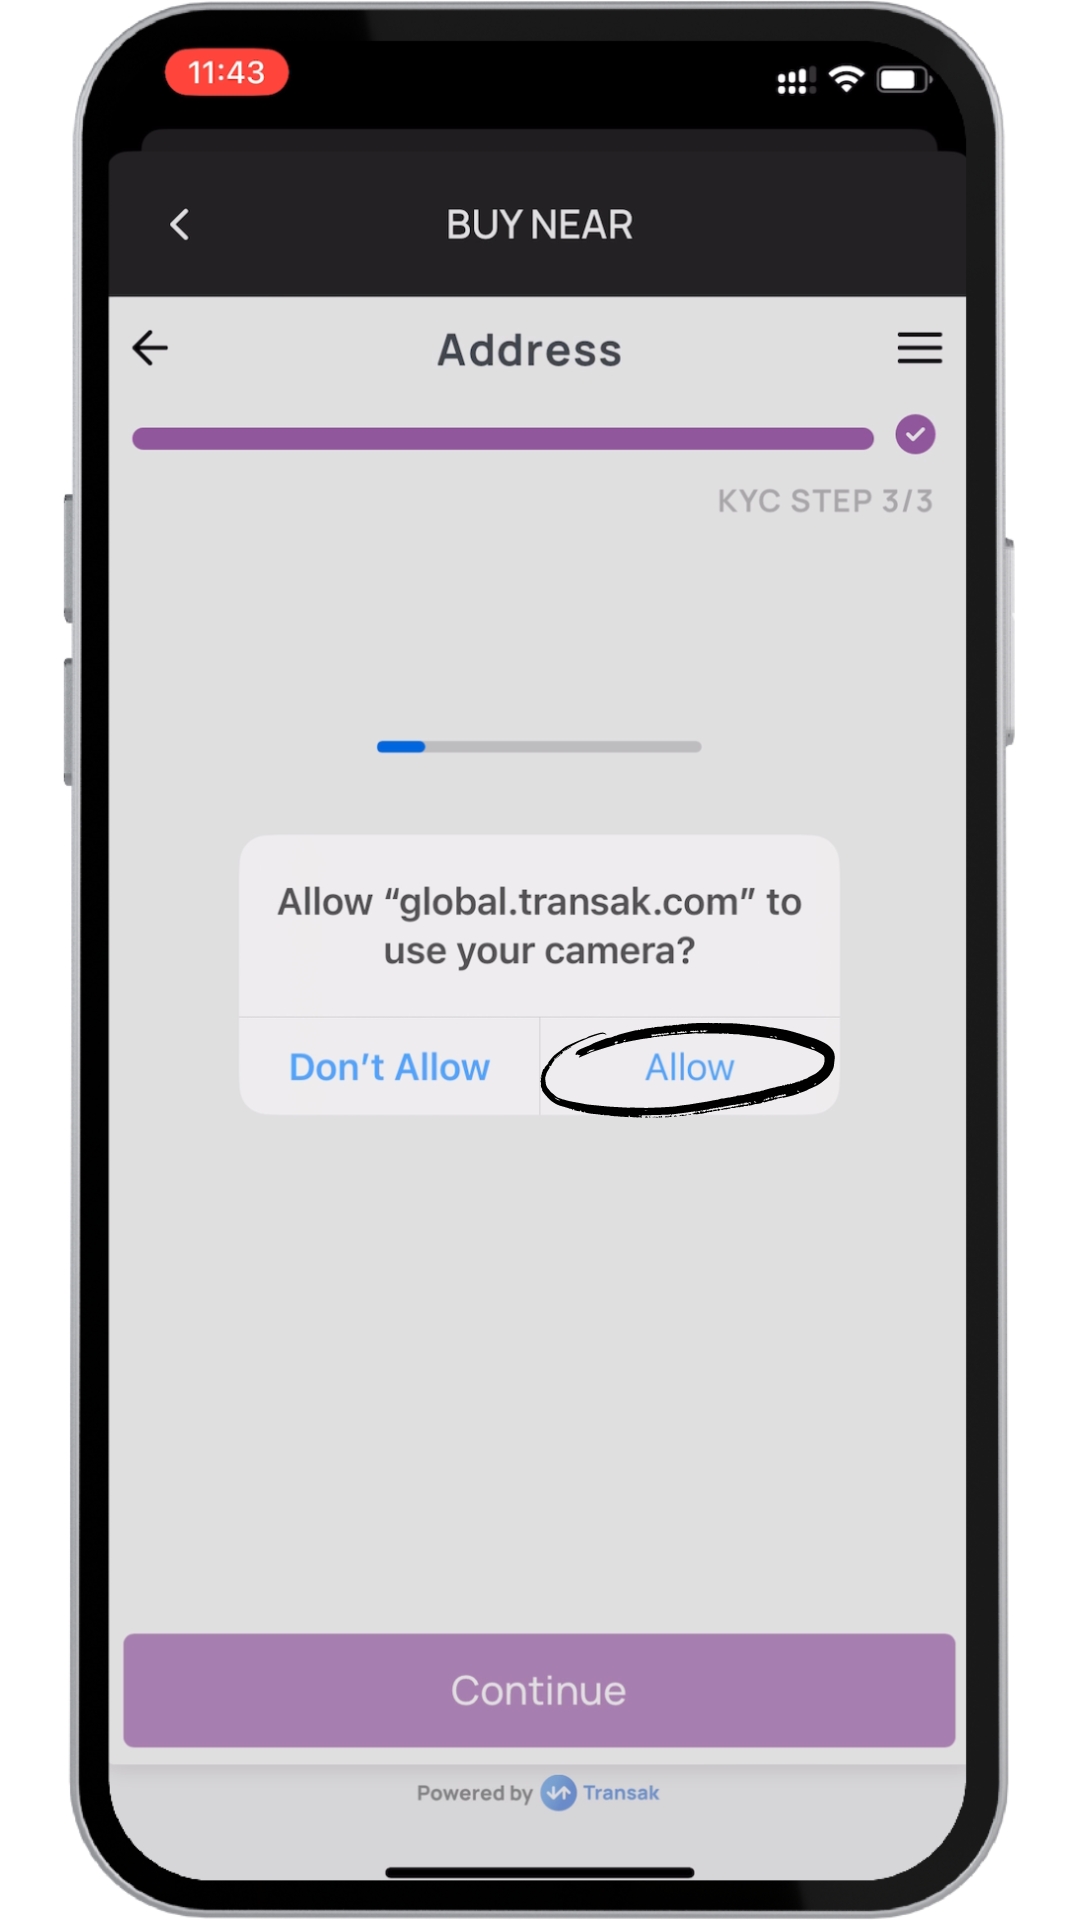
Transak will ask to take a picture of your ID, passport or driver license to verify your identity. You will need to give access to your camera.
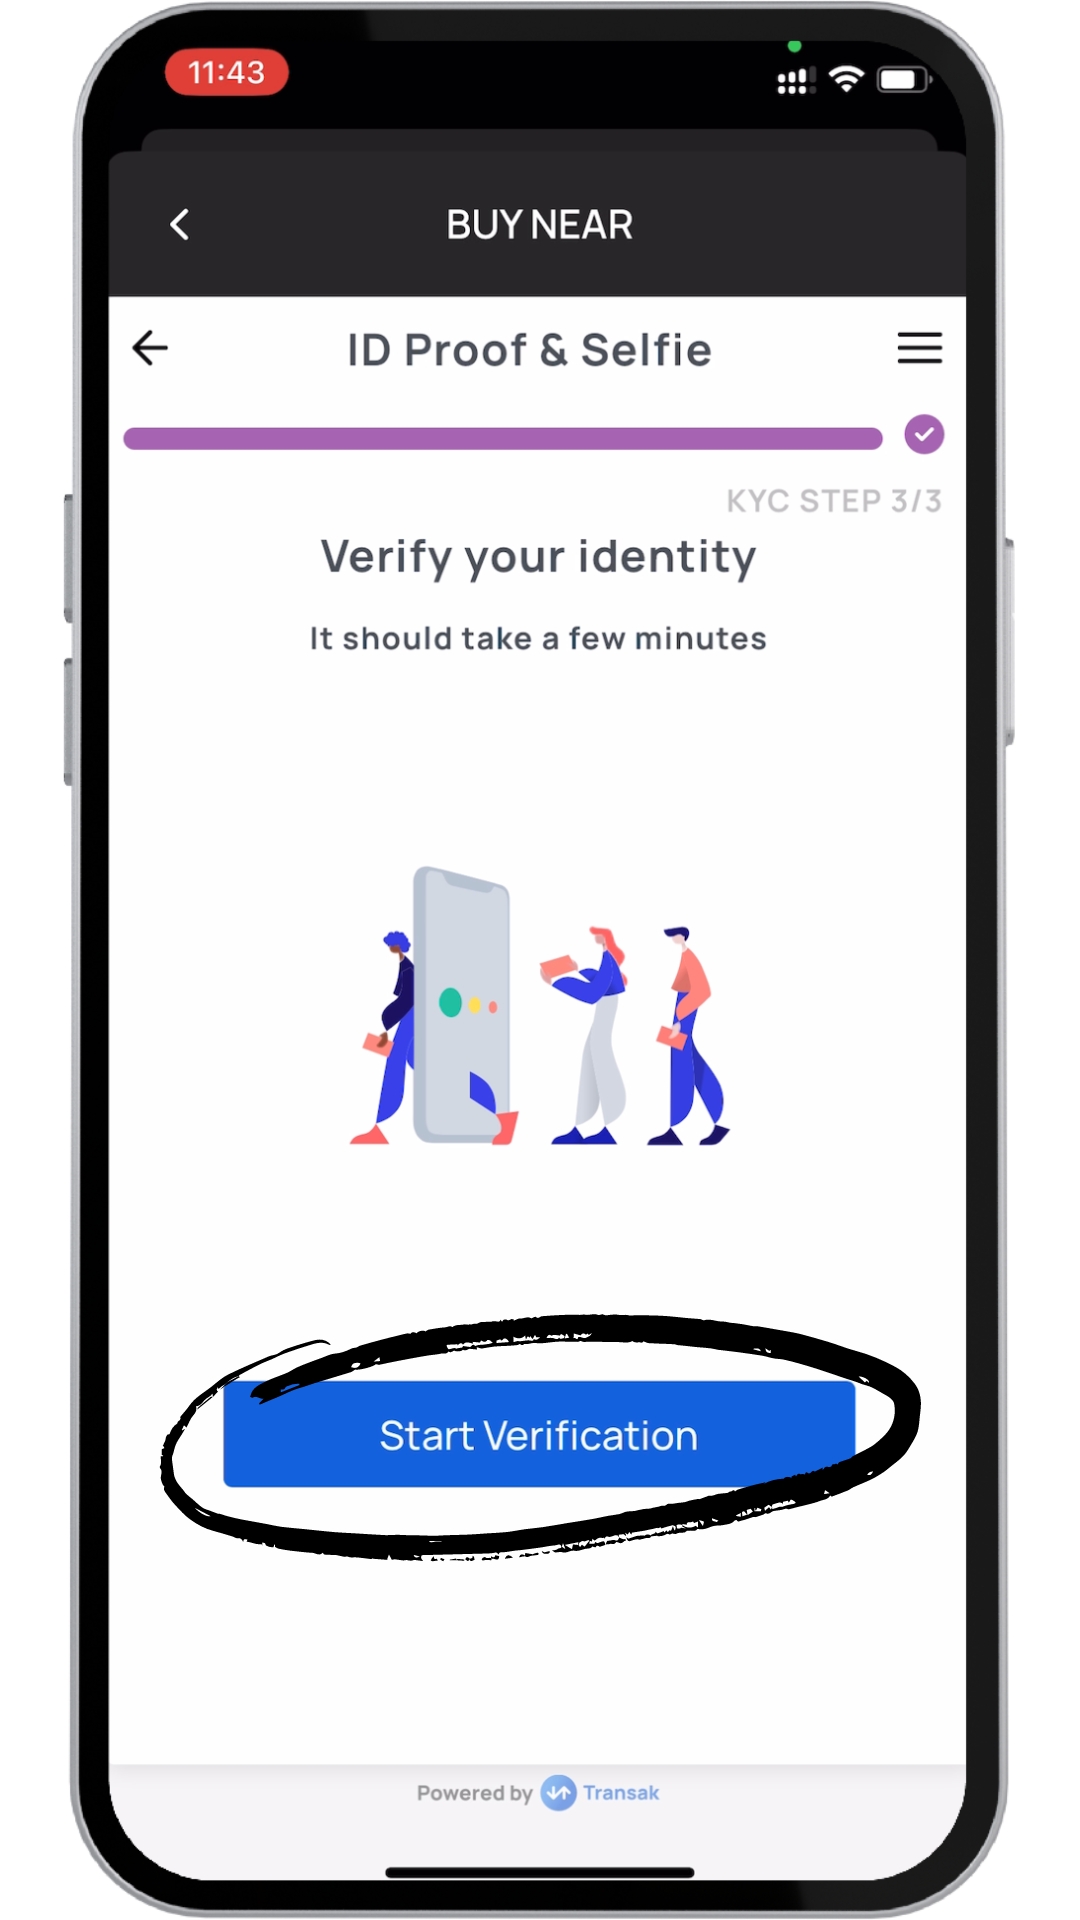
Tap on Start Verification
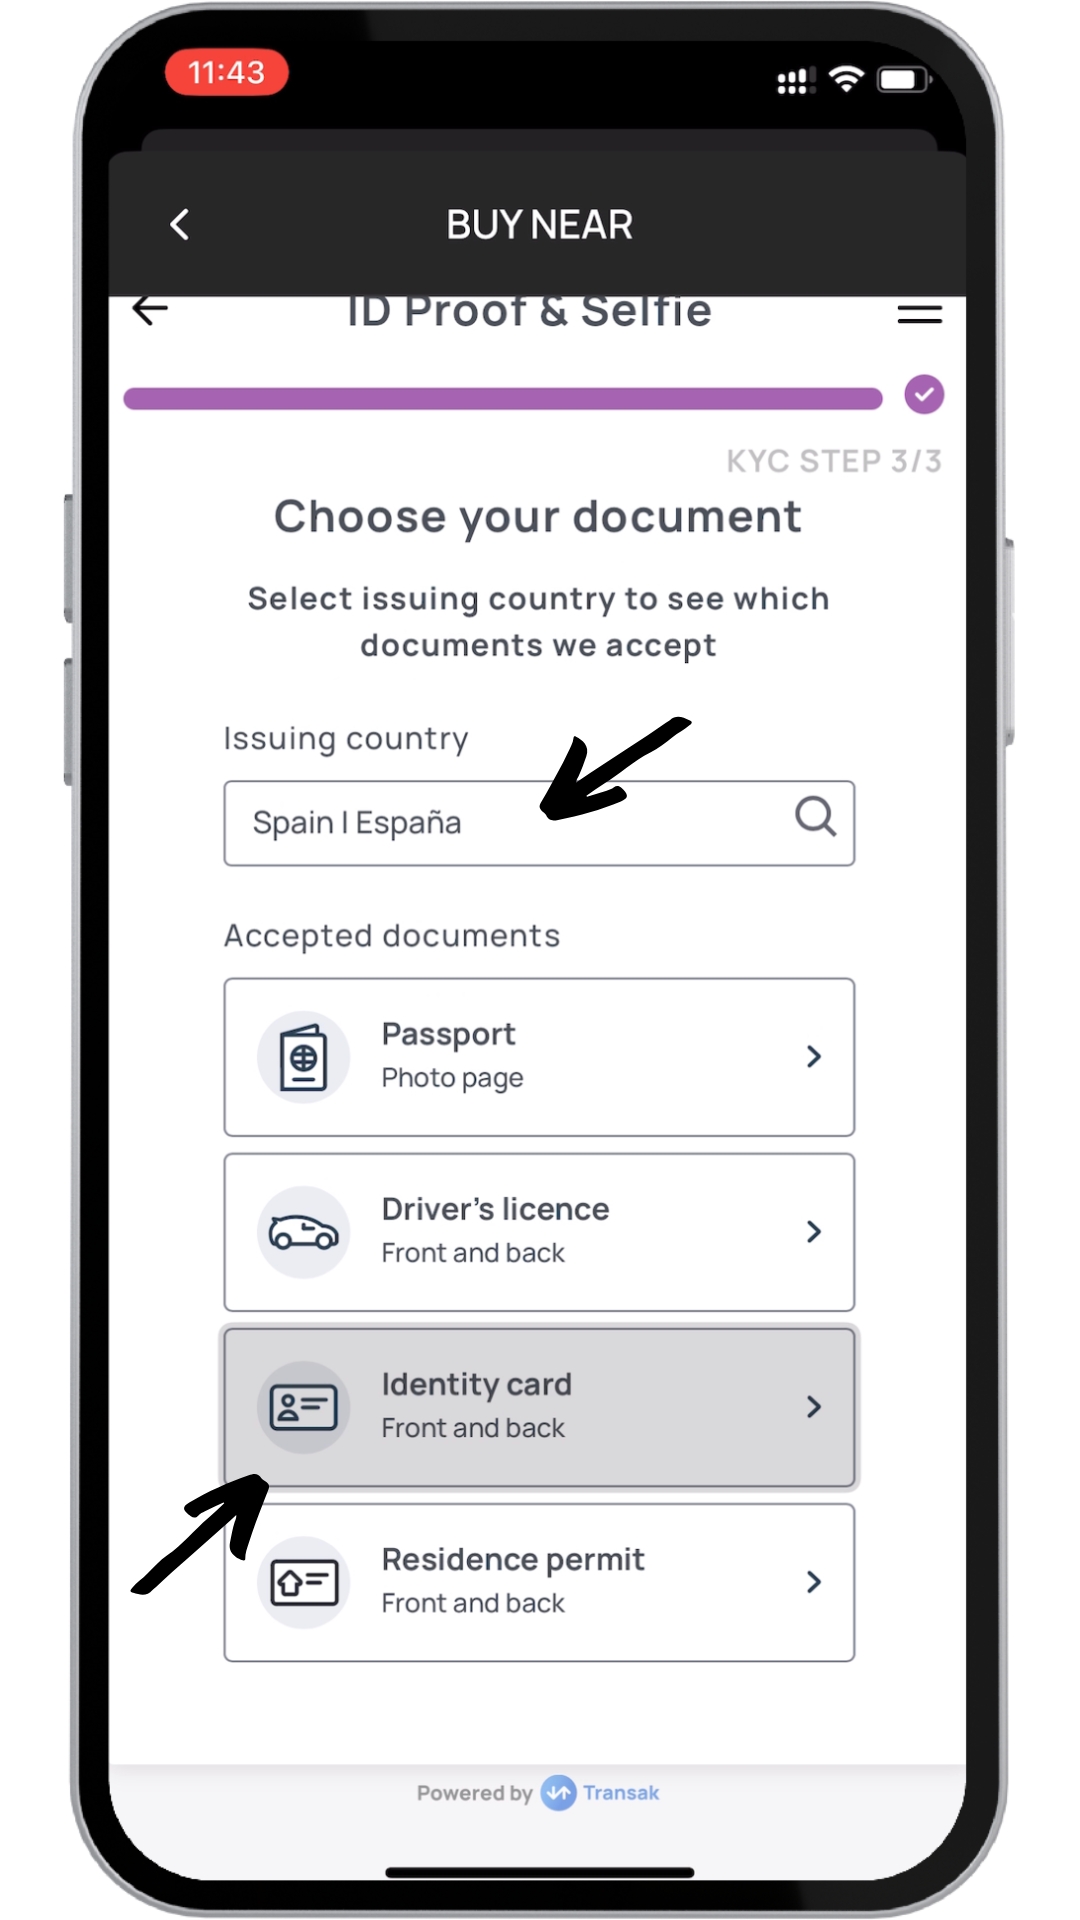
Select the country of issuance of the document, tap on the document type of your choice.
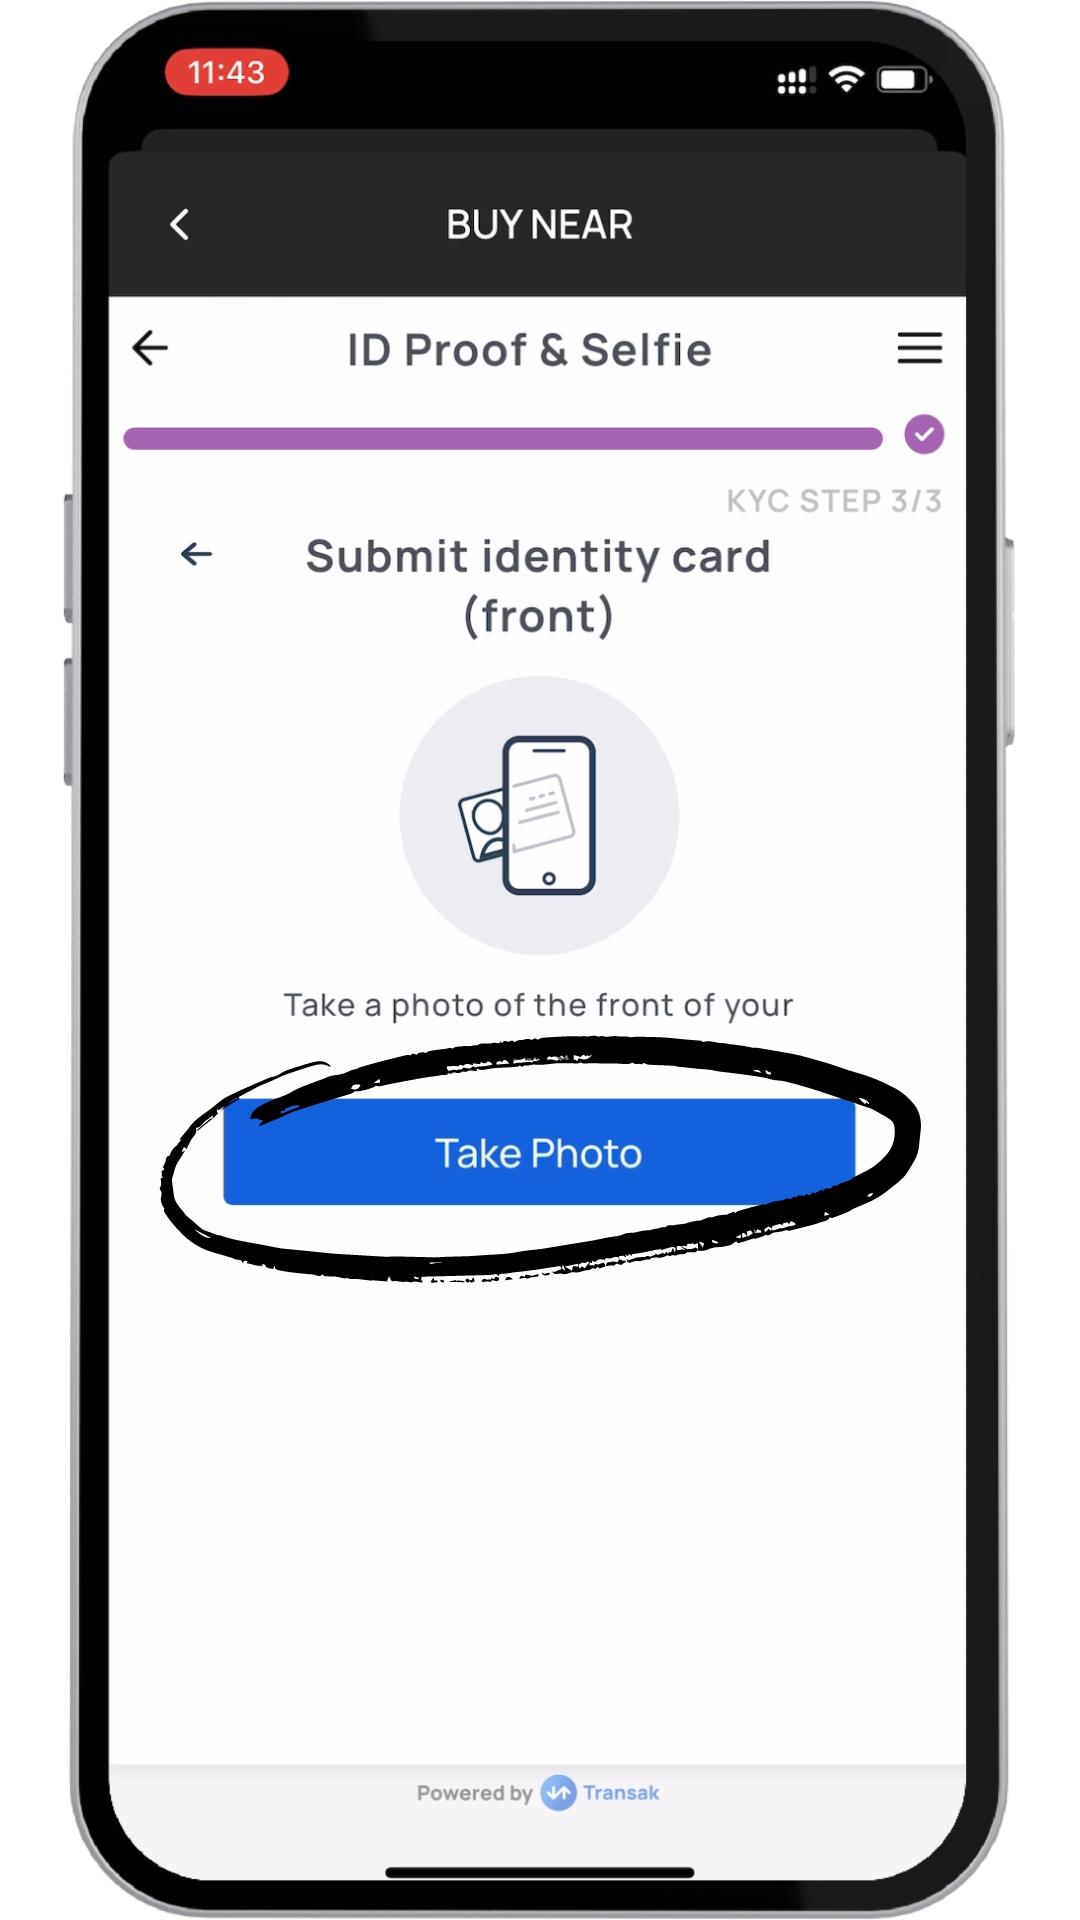
Take a photo of the document.
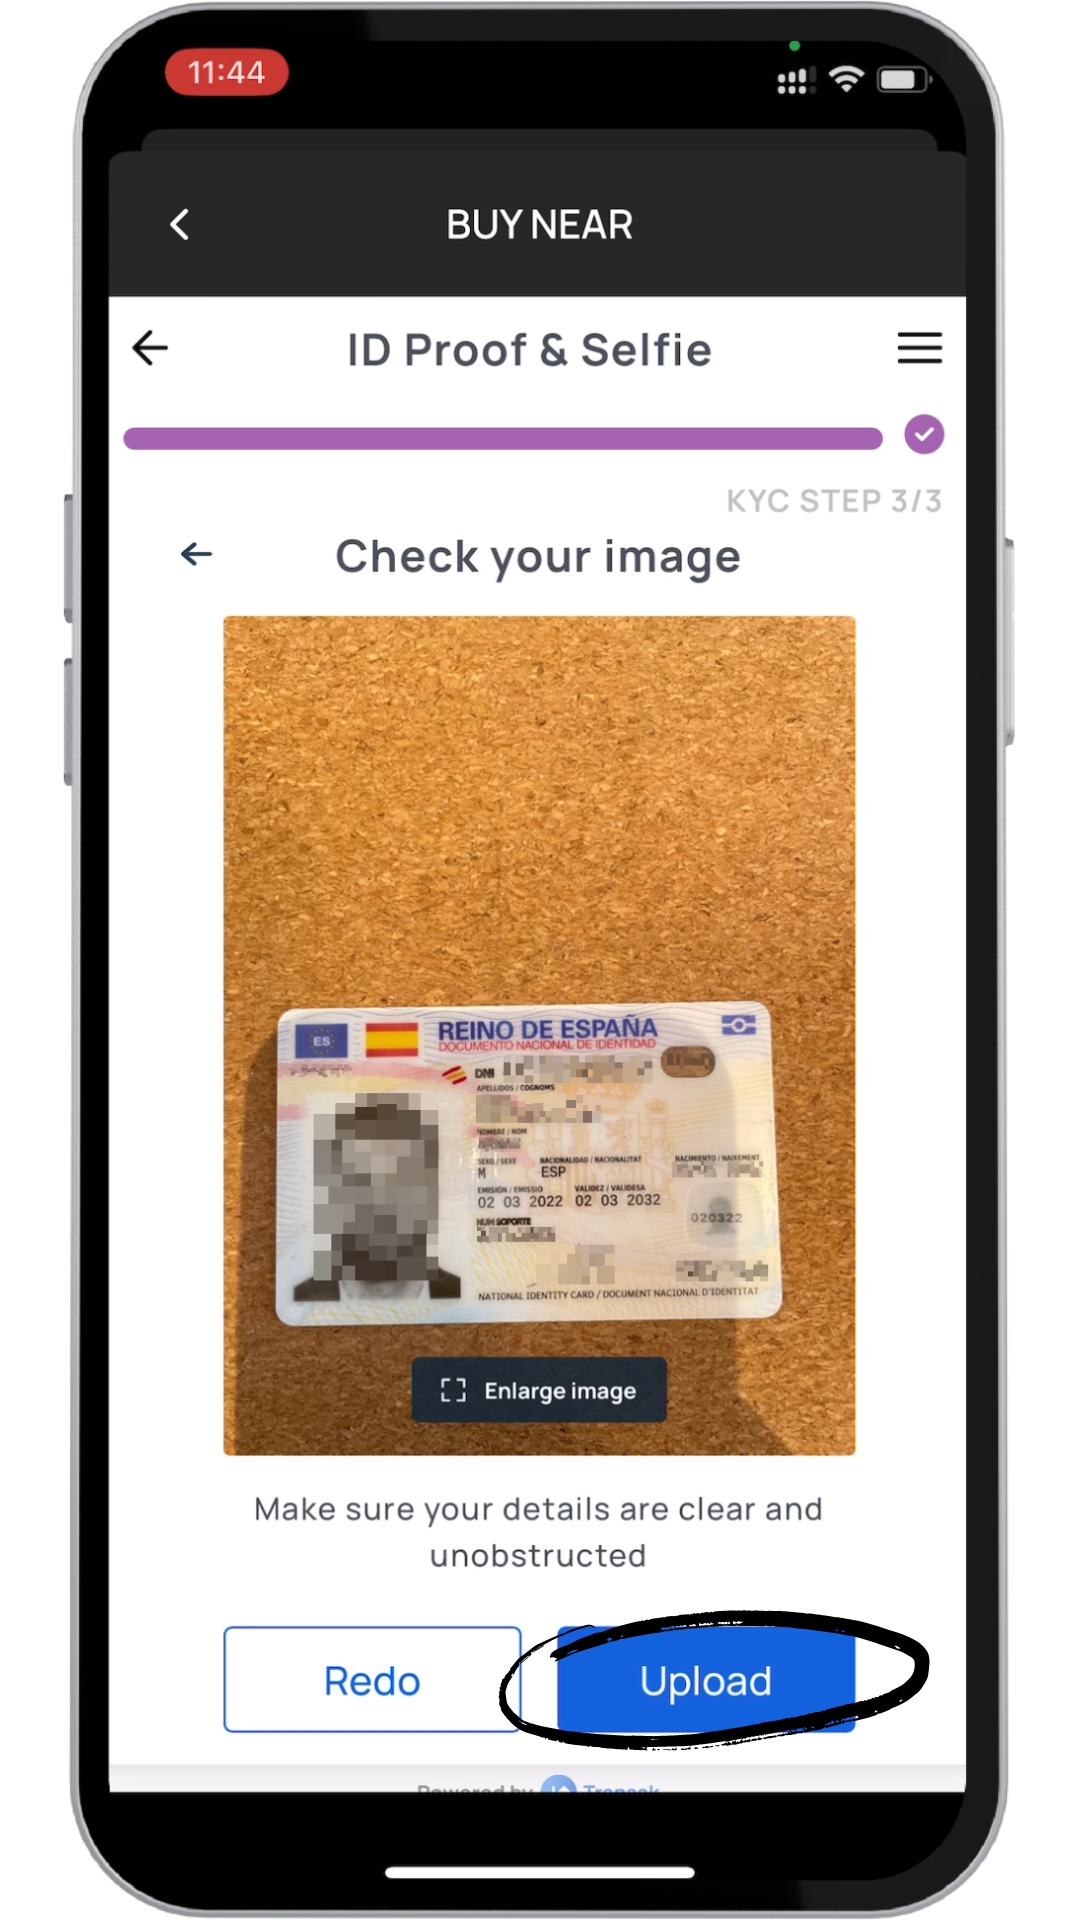
Make sure the photo is clear and, if that is the case, tap on Upload. Depending on the type of document you may need to take a photo of the back of the document as well.
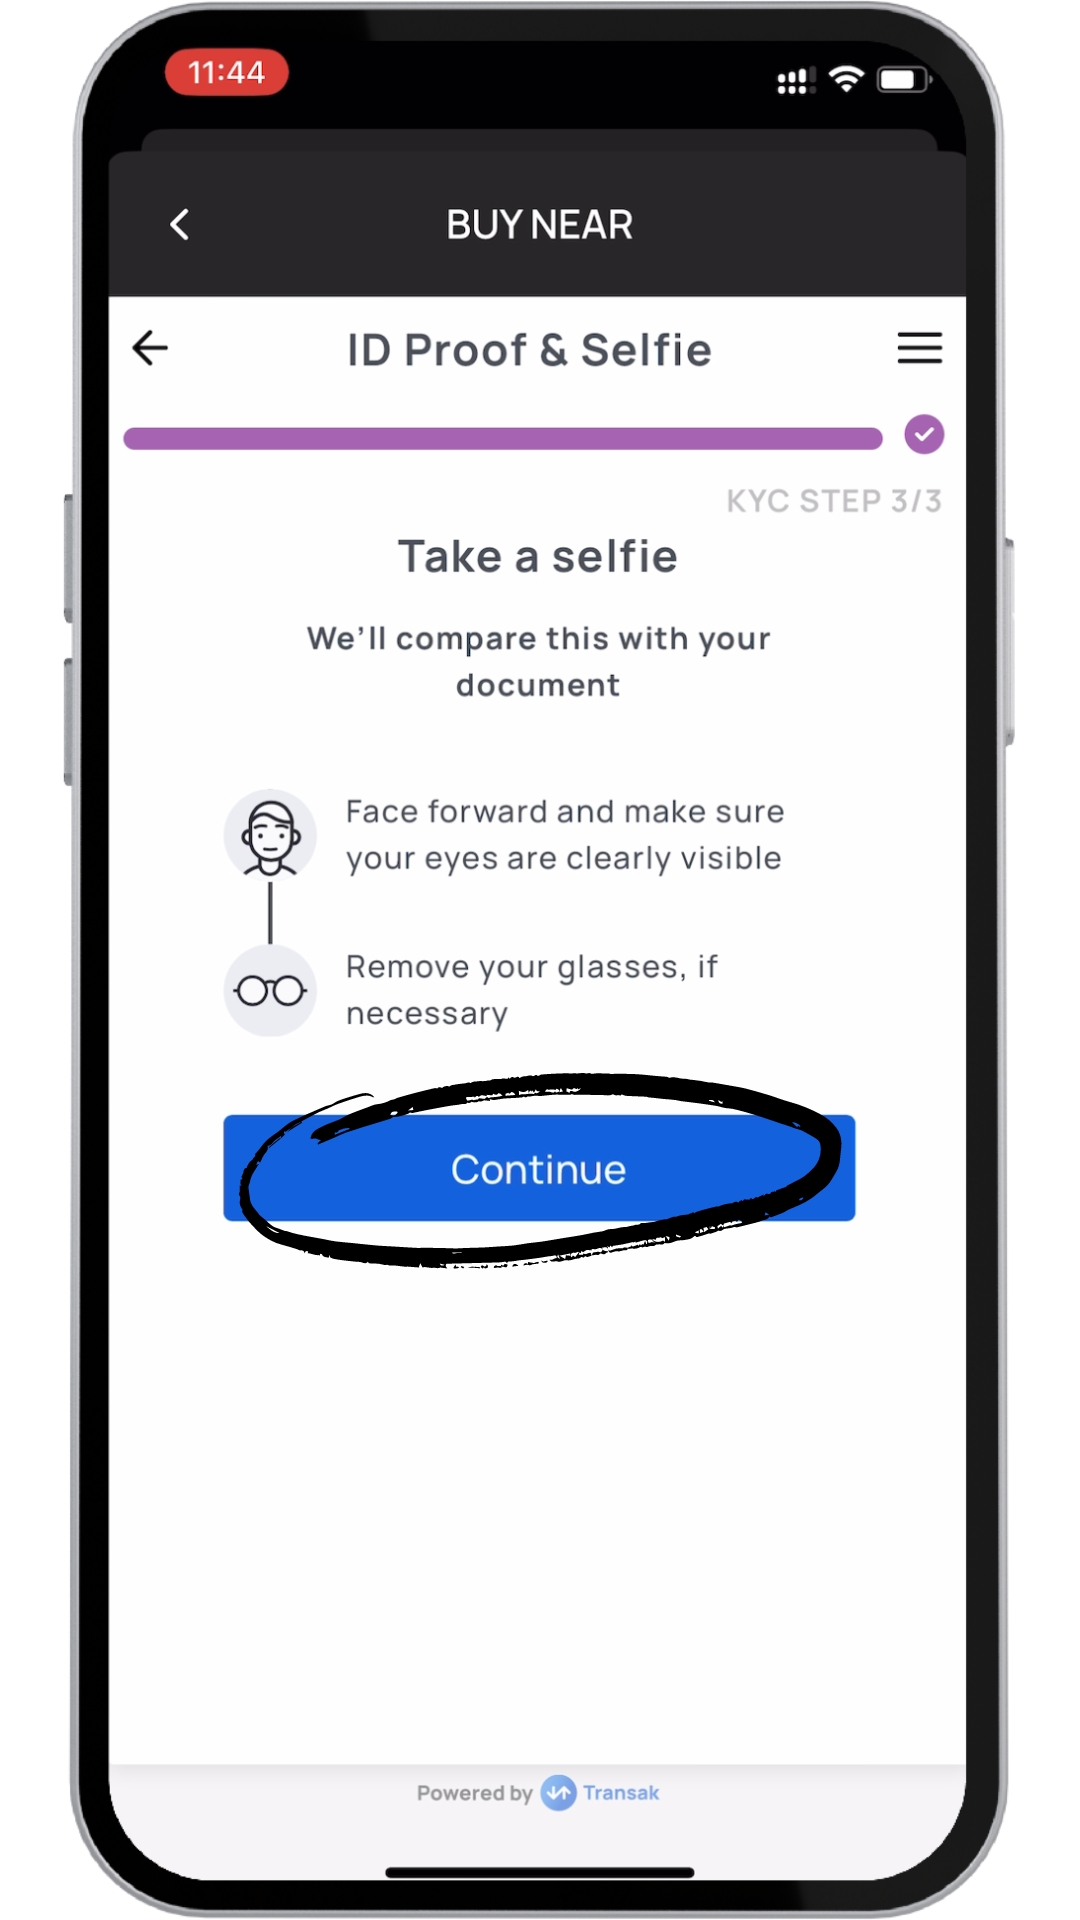
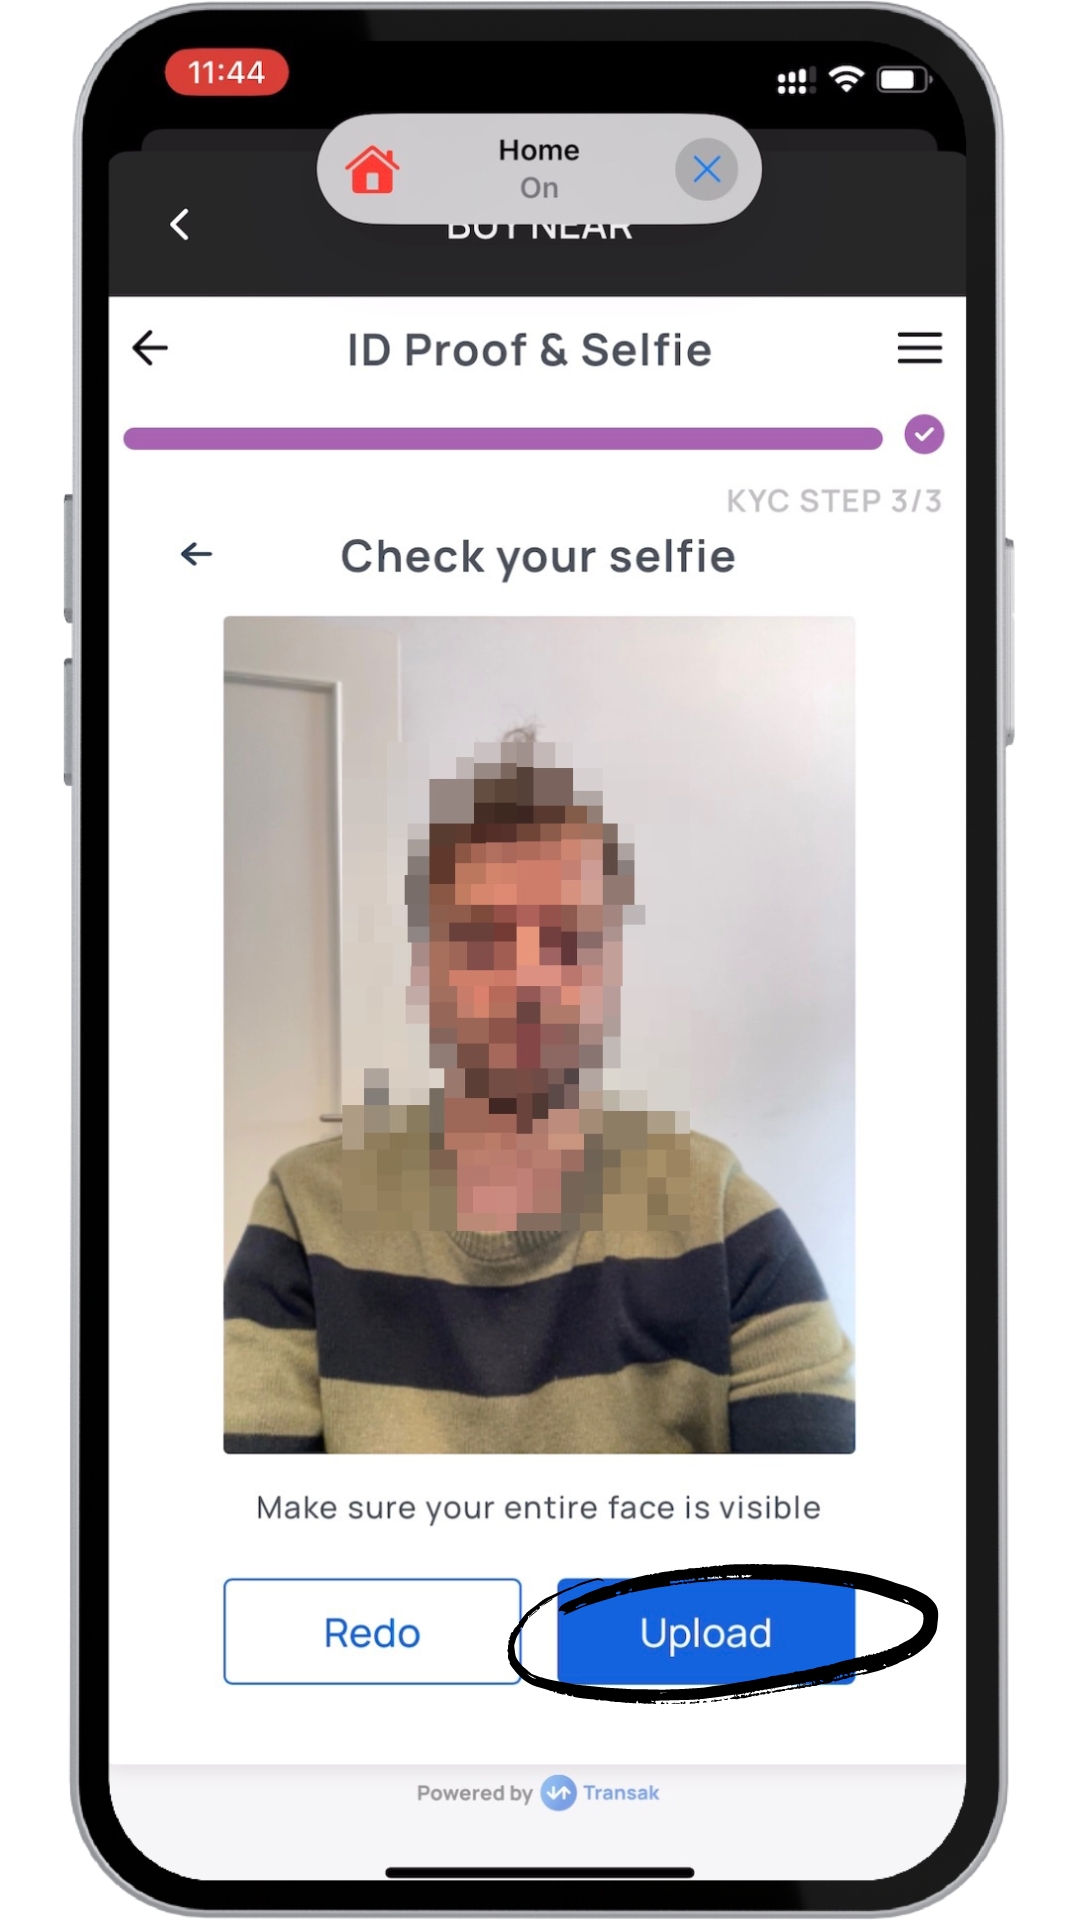
Next Transak will ask you to take a selfie. Tap on Continue to do it
Again make sure the photo is clear and your face totally visible and tap Upload upl
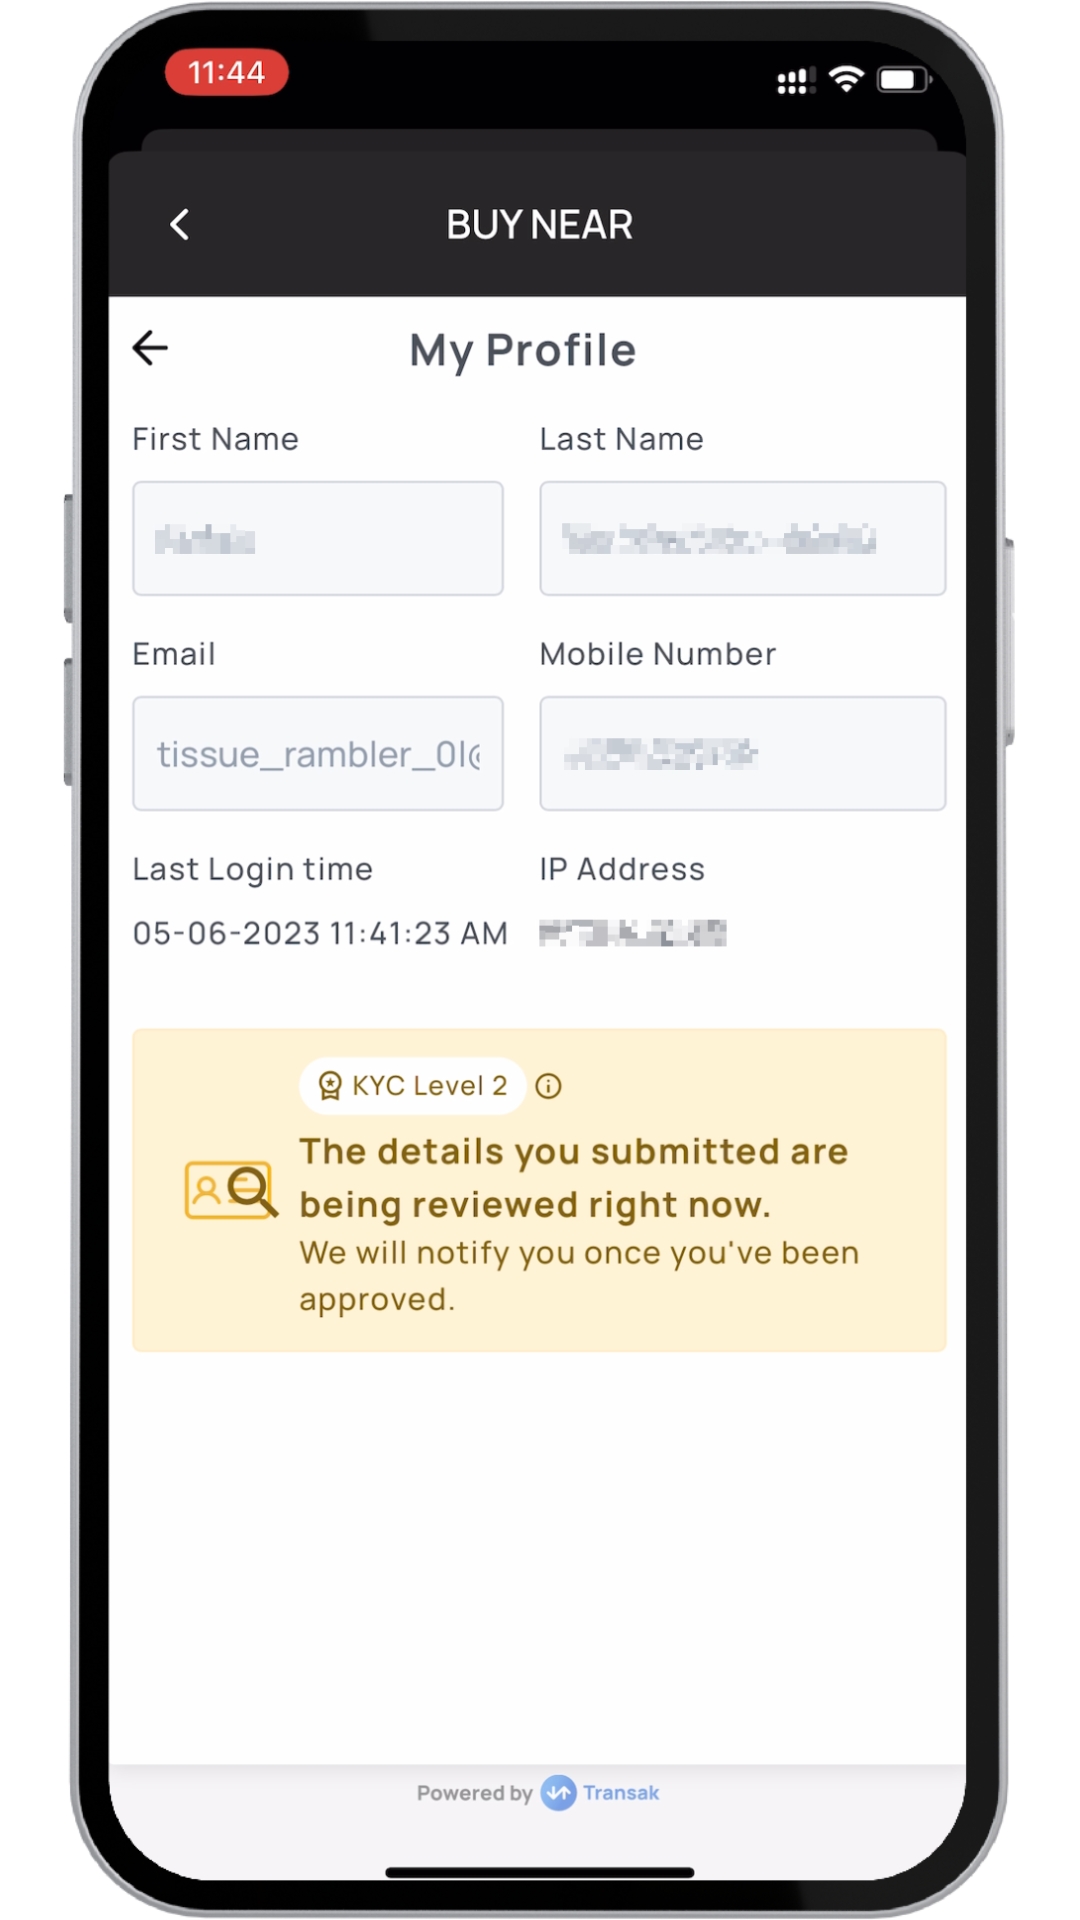
Transak will inform you that the your information is being reviewed
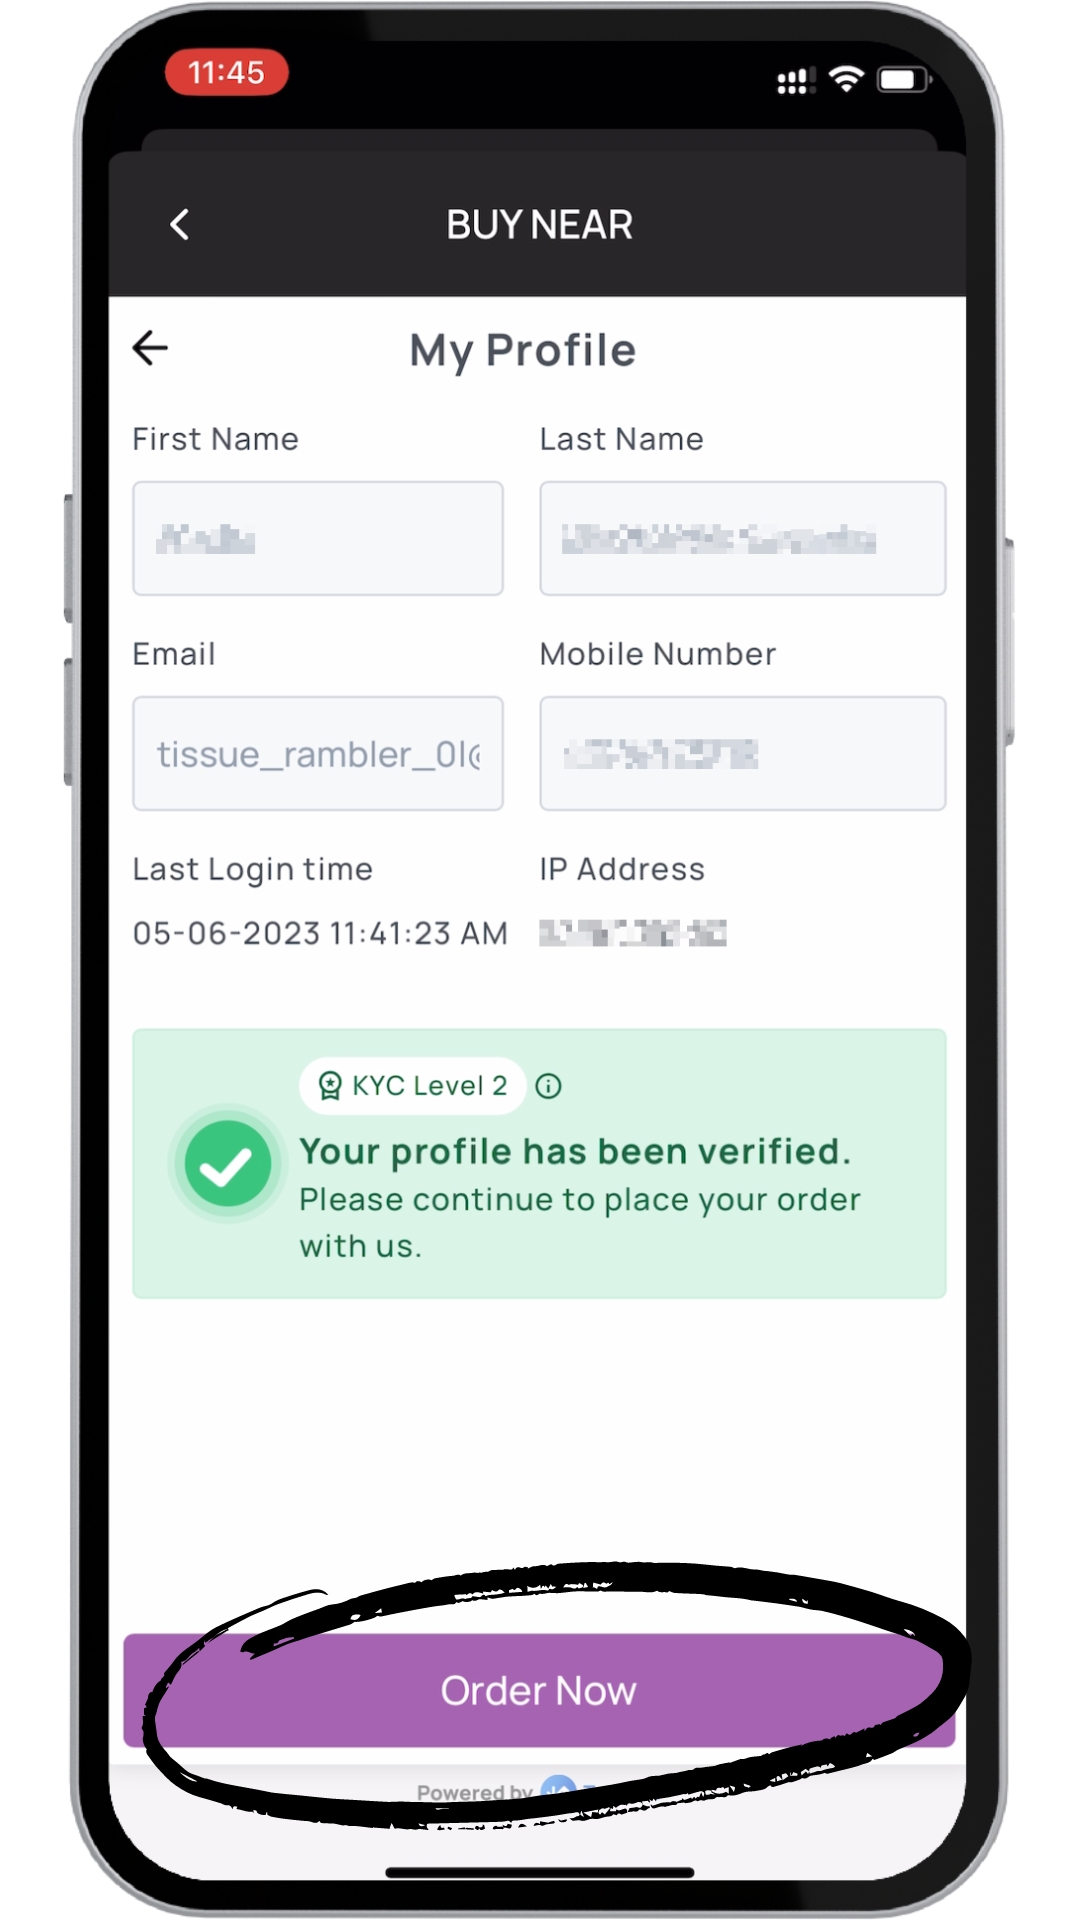
You can wait until the process is complete or wait for the email they send you once your are approved. Once approved tap on Order Now to resume the buying process
After that you can finish the buying by taping on Confirm and using the payment method previously selected. Check the first part of this tutorial if you have any doubts
Other options:
Moonpay
Moonpay is very intuitive and similar to Transak. Head over moonpay.com/buy and follow the instructions which basically are:
Enter the amount in NEAR or fiat currency that you wish to purchase
Enter your NEAR wallet address
Verify your email and basic information
Buy NEAR with a credit card or your preferred payment method
Again Moonpay may require to create and verify your account.
Coinmarketcap
Coinmarketcap is a very useful website to get crypto market information:
Right above the list of markets in the top right corner you can choose the FIAT or crypto currency you want to use to buy NEAR.
You will be presented with the list of exchanges that offer that pair.
You will need to go to the website of that exchange and create and account or log in your account and buy NEAR.
To send your NEAR to your non-custodial wallet you should look for withdrawal/send or transfer options. The actual steps will differ from one exchange to the other but they are usually straightforward. Remember that you have to send it to your account address that you can find on you NEAR Mobile wallet. See “Receive tokens” section if you do not know how to get it.
Last updated